What to Know First
-
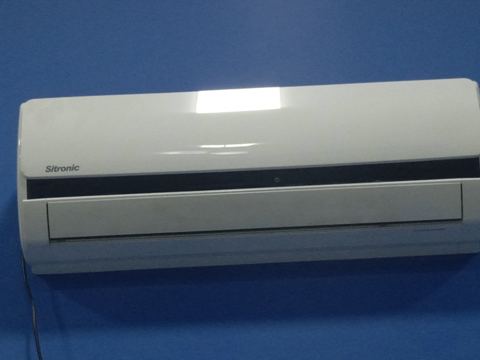
Yes, you can install a mini split indoor unit above a window, but only if you meet the manufacturer's clearance, framing and line-set requirements.
-
Above-window installs are common in tight rooms. You'd want to keep direct sunlight off the unit, avoid weak framing and stay away from areas where water leaks.
-
Airflow and air distribution can matter more than whether it lines up with the window - the unit would need to throw air across the room, not straight into curtains or a curtain top.
-
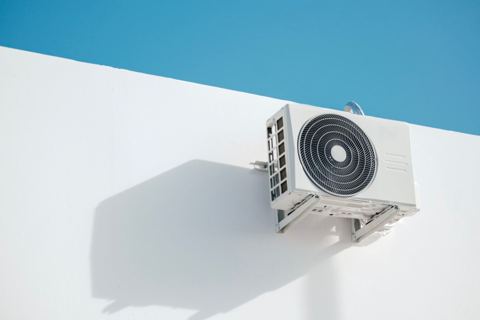
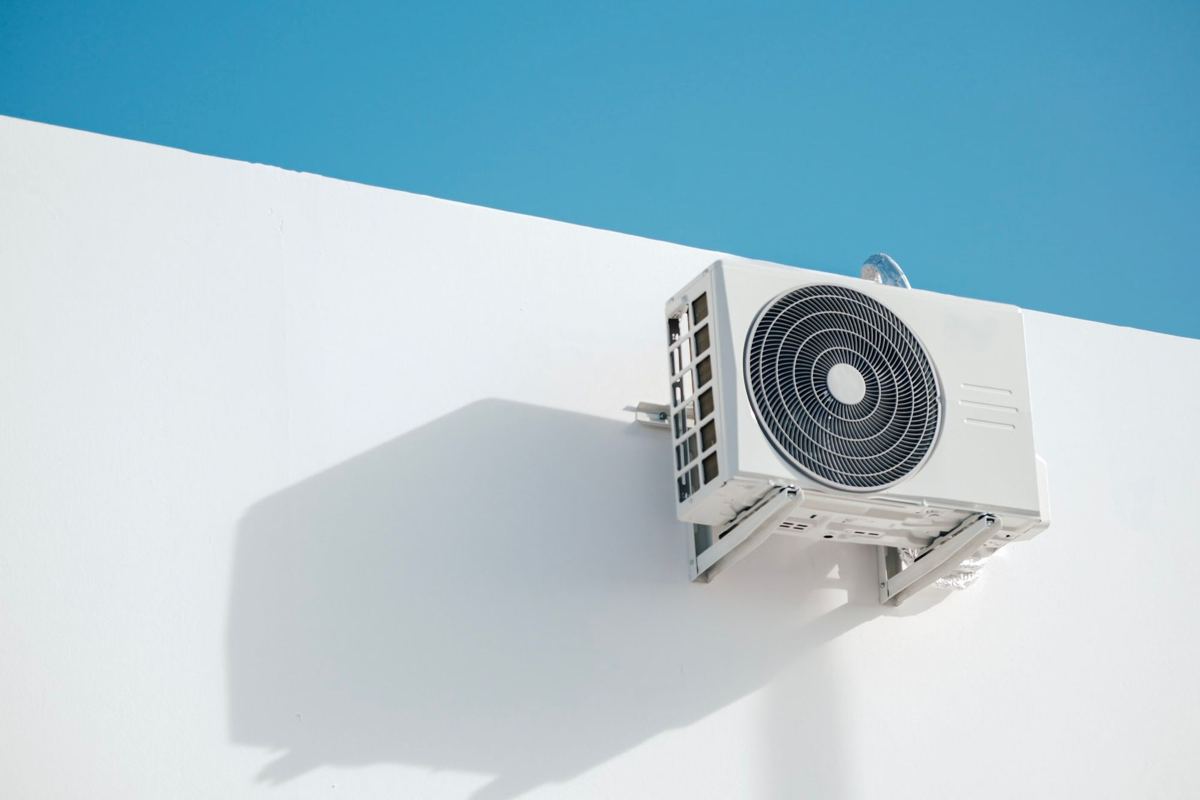
The mini split outdoor unit has to have shade, a surface that is level, and clearance on all sides. You'll want to keep it off areas that tend to flood.
-
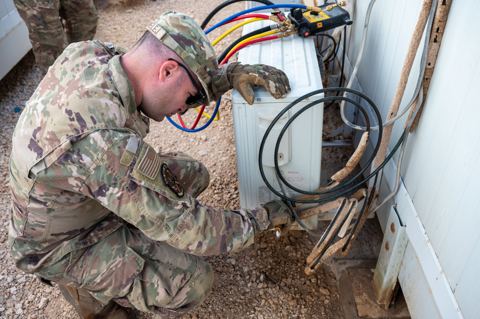
You can plan where the unit goes, how to mount it and where the condensate line runs, but a licensed pro has to handle the refrigerant charge. Refrigerant work isn't DIY.
Above-Window Mini Split Installs in Real Homes
Here in Mesa, Arizona, homeowners constantly ask me if they can tuck a mini split unit above an existing window to save wall space in a bedroom or home office. The short answer is yes - but "anywhere it fits" is not the same as the best placement for efficiency, comfort, or long-term reliability.
This article is going to cover wall-mounted mini splits that go above windows in bedrooms, living rooms and home offices. I've seen good installs above windows, and I've also seen bad ones where the unit short-cycles, bakes in direct sunlight or drips condensate down the trim. We'll go over when it works, when you'd want to avoid installing there, and what you can talk about with your HVAC contractor before anyone makes a hole.
Can You Install a Mini Split Above a Window? (Short Answer & Limits)
Yes, but it only works when the structure and room work out. Manufacturers will usually let you install above a window as long as:
-
The indoor unit needs to be level, and it needs to be held in place with screws that go into a solid structural header or added blocking - it can't just go into drywall.
-
Most standard wall-mounted mini split heads have to have at least 4 to 6 inches of room between the top of the unit and the ceiling. Most manufacturers recommend that you keep at least 6 inches of clearance above so the air can flow properly.
-
When you're putting in a mini split above a window, you need to make sure that you have enough vertical room to meet the installation guidelines.
-
There needs to be a clean, code-compliant path for the line set to run out to the outdoor unit, plus the drain line and the control cable too.
Above-window installs are common in small bedrooms where closets and doors take up every full wall, home offices with built-in shelving, and older homes where the window wall is the only open space.
Avoid installing above large curved or two-story windows with no solid header at the right height, windows with deep heat-trapping curtain tops that block airflow, and west-facing windows in Arizona that cook in direct sunlight all afternoon. If the header height, room or line path don't work, you should pick a different wall.
What to Check Before Mounting a Mini Split Above a Window
Structural support. Make sure the wall above the window has a solid structural header for mounting the mini split. Check that mounting brackets are secured to real framing rather than just drywall. Adding blocking between studs above the header is a common fix if there's no solid wood where you need it.
Clearances and air distribution. The indoor unit needs space above, below and to the sides per the manual so it can breathe properly. If it's jammed right under the ceiling, airflow will hug the ceiling and comfort will drop. The bottom of the unit has to have a clear path to blow conditioned air into the room - not straight down onto curtains or your head.
Heat sources and direct sunlight. The internal thermostats on mini splits can get thrown off by drafts or sunlight from windows. Don't let direct sunlight hit the front chassis because it can throw off thermostat readings and cause short cycling. For south- and west-facing windows, you'll want to add shade screens, film or overhangs. In Mesa, when the summer gets above 105°F, the window glass will become a major heat source right behind the unit.
Condensate drainage. Mini splits have to have a condensate drain line and a refrigerant line set. When they're above windows, you may need to route drain lines carefully to keep a continuous downward slope. Without that slope, you'll get standing water and algae. If gravity won't work, a condensate pump adds cost, noise and another thing that can fail.
Line-set routing. Shorter line sets will cut refrigerant loss in mini splits, and they will lower the install cost. You'll want to plan a clean path - above the window and out, or to the side and down - keeping turns gentle. Outdoor unit placement (shaded, away from high traffic areas and spots that flood) has to be planned at the same time.
Maintenance access. Filters have to be cleaned monthly in dusty climates. Above a tall window might mean you need a step ladder every time. Leave room for the front panel to swing open fully.
Pros and Cons of Installing a Mini Split Above a Window
| Pros | Cons |
|---|---|
| Installing mini splits above windows can save wall space for furniture or decorations | Sun and heat can trick the sensor into overcooling |
| Centered above a window can look intentional and balanced | Curtains and valances can obstruct airflow and create uneven cooling |
| Shorter line runs to an outdoor unit directly below improve efficiency | Service access may require a taller ladder and awkward coil cleaning |
| Fewer conflicts with doors, closets, and high traffic areas | Clogged drains can send water down the wall and into window frames |
| Mini splits near windows respond faster to temperature changes |
The numbers matter here: proper installation can improve mini split efficiency by up to 20%, while poor placement can increase energy costs by 15% or more. Mini splits installed in direct sunlight can increase energy consumption by 10%. Blocked airflow can reduce efficiency significantly on top of that.
Real example: A 12,000 BTU mini split in a Mesa bedroom that is 12 feet by 14 feet, installed above an east-facing window. The homeowner added shade screens, kept curtains shorter than the unit, and maintained 8 inches of ceiling clearance. The install has worked out well, with even performance, no condensate leaks and energy consumption that matched expectations. If you can tame the sunlight and keep airflow clear, above a window is usually fine. If not, an adjacent wall is the safer call.
Best Placement Near Windows
Sometimes "near" a window is better than "directly above." When possible, use a central interior wall that is opposite the window so you can get better air distribution across the room. Position indoor units high on walls for the best air circulation - indoor units should be installed 6 to 8 feet above the floor for the best airflow. Install indoor units away from heat sources like stoves and electronics for better efficiency.
For curtains, you'll want to keep several inches of vertical room between the bottom of the unit and any window treatments. Heavy, ceiling-to-floor curtains right under the unit will trap air and throw off the temperature sensor. When you design a mini split setup, you have to account for the way curtains and window treatments can block airflow.
Placing mini splits near doors improves system efficiency and can help condition two rooms or an open space more evenly. Mini splits can blend with the features near doors so you can get a cleaner look. In larger rooms or a home office, you'll want to avoid having the unit blow a constant force of cool air straight at your chair - angle the air deflectors to throw air across the middle of the room instead.
Outdoor Unit Placement When the Indoor Unit Is Above a Window
-
Keep 12 to 24 inches of clearance around outdoor units so air can circulate.
-
Don't put outdoor units in direct sunlight if you want to reduce energy use.
-
Put the mini split outdoor unit on a surface that is level, or put it on a wall bracket.
-
Keep it away from bedroom windows if fan noise gets to you, and keep it away from dryer vents, dirt, pool equipment exhaust or anything else that raises intake temperature and cuts efficiency.
In Mesa, I'd recommend installing on the north or east side of the house when possible. A simple shade structure helps, but never box the compressor in with solid enclosures that block air movement. You'll want to keep all sides and above clear for the system to work at maximum efficiency.
Energy Efficiency, Comfort and Rebates Around Windows
Before you install a mini split above or near older windows, take care of basic weatherstripping and look at low-E film or shade screens so you can cut sunlight exposure and heat gain. Also, in the Phoenix–Mesa area, SRP offers a $1-per-square-foot discount on professionally installed shade screens or window film, which can really cut the solar load on rooms with mini splits. SRP also has an insulation discount of up to $600.
For the unit itself, you can use the built-in vents and fan settings to throw air across the room for the temperature you want instead of pointing it straight down the glass. A slightly offset position next to the window rather than directly above may feel more comfortable.
On discounts: the federal 25C Energy Efficient Home Improvement Credit ended for equipment placed in service after December 31, 2025, so a 2026 mini split heat pump install gets no federal tax credit. However, SRP's Cool Cash plan still offers discounts for efficient systems - every Cool Cash tier needs 15.2 SEER2 or better, and the system must be installed by an Arizona-licensed residential AC contractor before April 30, 2027. Window upgrades plus good mini split placement often beat making the system too big for both comfort and monthly bills.
DIY vs. Pro: What You Can Do
-
Planning indoor unit location relative to windows, doors, furniture and how the room is laid out
-
Marking studs, checking to see if you have enough room, and opening small inspection holes so you can find the header
-
Planning the route for lines and drain, and deciding where the outdoor unit will go
-
Upgrading window shades, weatherstripping and insulation so you can cut the load
Tasks for licensed pros:
-
Handling refrigerant lines - cutting, flaring, evacuating and charging the split system
-
There's high-voltage wiring to the outdoor unit and panel
-
Pressure testing and pulling a vacuum to the needed microns
In the U.S., opening a sealed refrigeration circuit or charging refrigerant needs EPA-certified technicians. EPA says a "small appliance" (Type I) is equipment factory-sealed with 5 lb of refrigerant or less, such as window and portable ACs - modern ductless systems go over that and need certification. Always turn power off at the breaker before mounting brackets or drilling near electrical in the wall.
Sketch your preferred above-window layout and walk through it with your contractor so the line path, condensate path, floor clearance and outdoor unit location all make sense before anyone makes a hole.
FAQ
Can You Install a Mini Split in a Window Opening?
No. Standard ductless mini splits aren't built so they can sit in the window opening. They need a solid wall mount, plus a separate outdoor unit with a line set that connects the two of them. If you want a true window-style install, look at window or portable ACs that are built for that purpose.
How much clearance does a mini split need above a window?
Usually 4 to 6 inches minimum, but the exact number is in your specific manufacturer's installation manual. Too little clearance traps discharge air against the ceiling, cuts air distribution and makes the system run longer. Leave extra room so the front cover opens fully for cleaning.
What If the Window Is Near the Ceiling?
With less than the manufacturer's needed clearance between the top of the window trim and the ceiling, above-window mounting usually won't work. Look at an adjacent wall, a floor-mounted indoor unit or a ceiling cassette. Forcing a unit into a too-tight space can void warranties and cause long-term comfort problems.
Will installing above a window increase my energy bills compared to another wall?
It can, especially on large sunny windows, because the unit's temperature sensor sits in a hotter micro-climate and may make the system cool the room too much. Good shade and insulated windows reduce this extra cost a lot. If you have high summer bills, look at shade discounts - like SRP's $1-per-square-foot shade screen discount - as part of your overall efficiency plan.
Above a Sliding Glass Door or a Window?
Usually worse. Sliding glass doors bring in more heat gain and drafts. The tall opening leaves less solid wall for mounting, which can force the unit too close to the ceiling. When you can, put the indoor unit on a solid adjacent wall that still lets good air distribution across the door area and open space beyond it.