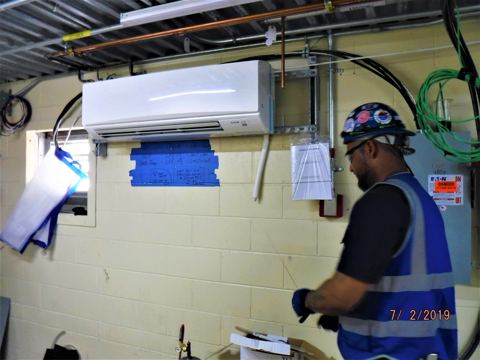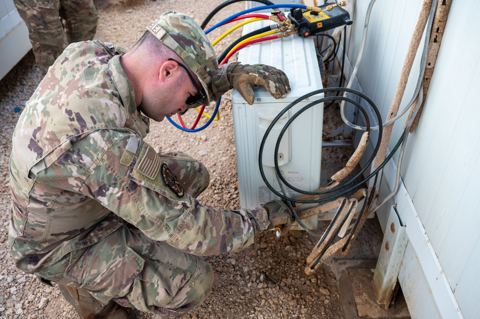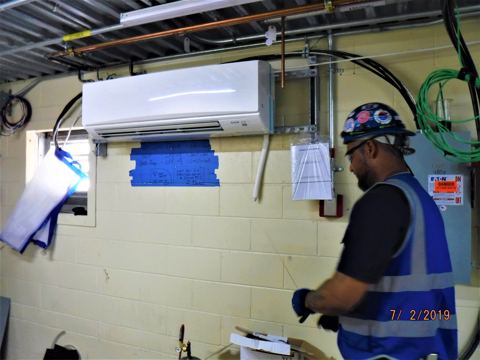
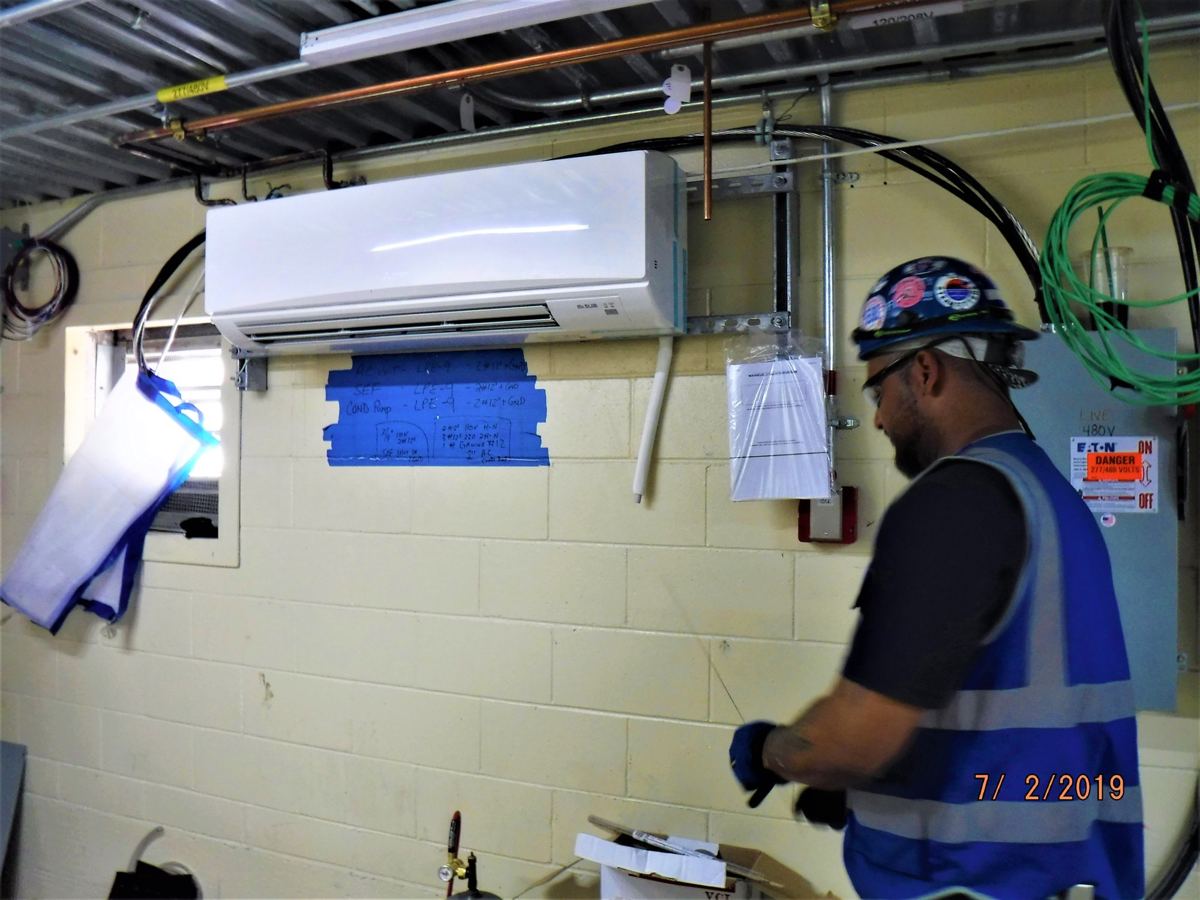
A mini split drain line running uphill sounds like it should be impossible-and with pure gravity, it is. But there are real-world situations where you have no choice but to route condensate vertically. Here's what actually works, what doesn't, and how to avoid turning your wall into a swamp.
Key Takeaways
-
A mini split gravity drain line cannot run uphill. Water has to have help from a machine to flow uphill. However, a condensate pump or built-in lift pump can move mini split condensate up, but only up to a strict height limit.
-
The 2024 IRC M1411.9 says condensate drain lines have to slope at least 1/8 inch per foot down toward the place where the water comes out. Any uphill run has to be pumped, not gravity-fed.
-
The indoor unit's drain pan will overflow if the drain line sags, has uphill bumps or goes above the pump's lift rating, and that leads to wall damage, mold growth and ceiling stains.
-
Routing depends on your setup. Wall-mounted heads on exterior walls can usually use gravity to drain straight through the wall, while interior wall installs and ceiling cassettes almost always need a condensate pump.
-
Before drilling anything, decide whether gravity is enough, a condensate pump is require, or the job needs a licensed HVAC tech.
How Mini Split Drainage Works (and When "Uphill" Is a Problem)
Here's the basic chain in terms you can use:
Can a Mini Split Drain Line Run Uphill?
A gravity mini split drain line cannot run uphill. Period. But you can route condensate uphill using a properly sized condensate pump or the indoor unit's built-in lift pump.
The 2024 IRC M1411.9 lays it out: condensate lines must slope at least 1/8 inch per foot toward the discharge point, and auxiliary or secondary drain piping must be at least 3/4-inch in name. An uphill section simply does not meet that standard without pumping.
Concrete example: if your indoor unit is on an interior wall and the nearest drain or exterior wall is higher than the drain outlet, you can't just snake a hose up and over. Without a pump, that pan will eventually overflow.
Gravity Drain Basics Without Going Uphill
Gravity drain requirements:
-
A continuous, consistent downward slope with no sags, bumps or upward turns.
-
No P trap or loops unless specifically required by local code or the manufacturer.
-
Drilling a hole at a 5° to 10° downward angle through the wall helps maintain slope from the start.
Going Uphill with Gravity Drains, Condensate Pumps or Built-In Lift Pumps
When the obvious path goes uphill, you have three real options:
-
Re-locate the indoor unit to a wall where gravity works.
-
Reroute the drain to maintain gravity drainage to a different discharge point.
-
Add a pump system to lift the water mechanically.
Built-in lift pumps, found in some wall units and most ceiling cassettes, are internal pumps that lift water 2–4 feet per the manufacturer's specs before passing it off to a gravity drain line.
Every pump has a maximum vertical lift. Some external pumps like the Beckett MS602ULCQ can handle a shut-off head around 53 feet, with a recommended working lift of about 33 feet. But running right at the max is a bad idea. The design and size of the pipe affect how well condensate drains, and the total pipe length and turns increase resistance in pump systems, cutting real-world performance well below the spec sheet.
Your rule of thumb: if any part of the condensate drain line has to rise higher than the indoor unit's drain outlet, plan on using a pump and following the pump's lift chart.
How a Condensate Pump Drains Uphill
I've installed dozens of external condensate pumps under mini splits on interior walls around Phoenix and the East Valley when gravity just would not work. Here's how they function:
-
Water drops from the indoor unit's drain pan into the pump's small reservoir.
-
The float switch turns on the pump when the reservoir is full.
-
The pump pushes water up through a small drain line to a high point.
After the pump's lift, the drain line must slope continuously down to the final condensate drain termination. No second "hills" after the lift-one pump, one rise, then gravity takes over.
A properly wired overflow alarm can stop the mini-split if the pump fails. Most pumps include an overflow safety switch wire that ties into the indoor unit's control board. Over finished drywall and hardwood flooring, this is non-negotiable.
Example layout: interior wall mini split, pump mounted under the indoor unit, 6–8 feet of vertical lift into the ceiling cavity, then 15–20 feet of PVC pipe sloping down to a 3/4-inch line that goes out above grade outside.
Ceiling Cassettes and "Upward" Drains
Seeing a condensate drain line going up from ceiling cassettes is actually normal. These units usually have a built-in condensate pump inside the housing.
Typical cassette setup:
-
The indoor unit is recessed in the ceiling.
-
A small internal pump raises condensate a few feet to clear joists.
-
Built-in pumps allow a maximum 11-inch vertical lift within 12 inches of the unit per many manufacturer specs.
-
After the lift, the drain pipe runs horizontally with a slight fall to a safe discharge point.
Respect the manufacturer's maximum lift height-it's usually printed right in the install manual-and minimum pipe size, which is usually at least 3/4-inch drain pipe for the condensate drain.
Code for Mini Split Condensate Drains
Here's a homeowner-level summary of what code calls for with condensate drain lines:
| Requirement | Minimum Standard |
|---|---|
| Slope toward discharge | 1/8 inch per foot (code min); aim for 1/4 inch per foot |
| Secondary/auxiliary drain pipe size | 3/4-inch nominal |
| Primary drain line (long runs/rigid PVC) | 3/4-inch or larger diameter inside diameter recommended |
| Drain termination | Outdoors away from foundations/walkways, or to approved indoor drain |
Condensate drain lines must slope at least 1/4 inch per foot to keep water moving and prevent biological growth. The primary mini split drain line should be at least 3/4-inch inside diameter when converted to rigid PVC, especially for long runs or shared drain lines from multiple indoor units.
Drain termination options that usually pass inspection:
Some jurisdictions are now proposing amendments to prohibit condensate drain termination over sidewalks or walking surfaces completely.
Problems When Mini Split Drains Go Up
Typical issues:
- Water is leaking or dripping from the indoor unit onto walls or flooring
Homeowner troubleshooting checklist:
How to Plan a Mini Split Drain Route
Before you hang the indoor unit or cut drywall, you'll want to think through drainage. Here's my step-by-step approach:
-
You'll want to choose the indoor unit location and the condensate discharge location at the same time. Don't treat the drain line as something you figure out after the fact.
-
Mark wall studs, electrical and plumbing in the wall. Sketch a path that keeps the mini split drain line sloping down safely the entire way.
-
Check for obstructions: refrigerant lines, ductwork, framing, anything that could force a bump or sharp edges in the drain path.
-
Use the right materials: flexible hose from the unit, then switch to rigid 3/4-inch PVC pipe for the main run, sealed properly at every joint.
Two common layouts:
-
Exterior wall mount: Short gravity drain directly through the wall. Drill the hole at a 5° to 10° downward angle. This is the simplest, most reliable installation.
-
Interior wall mount: A small condensate pump is almost always the right answer. Plan for power to the pump and route the discharge line to the nearest exterior wall or floor drain.
Review the specific installation manual for your brand and model (Mitsubishi, Daikin, Gree, etc.)-requirements for minimum slope, maximum lift and drain pan test procedures vary between manufacturers.
DIY vs. Pro: What You Can Do and What Needs a Tech
-
Cutting and gluing 3/4-inch PVC pipe and checking slope with a level
-
Installing hangers, line covers and opening walls for routing
-
Multiple indoor units sharing drain lines
-
Ceiling cassettes with internal pumps
-
Any system tied into building plumbing (p trap, vent, sewer connections)
-
Pump wiring and overflow switch connections
While homeowners can mount a pre-charged mini split themselves, federal rules since January 1, 2018 (40 CFR 82.154(c)) mean you can't buy refrigerant like R-410A or R-454B unless you have EPA 608 certification. So any major refrigerant or line-set work isn't a DIY job.
A hybrid approach works well: homeowners plan the route, open walls and install hangers, then have a local HVAC pro handle the final connections, pump wiring and code-critical drain tie-ins.
Keep an Uphill Mini Split Drain Clear
-
Filters: Clean or change indoor filters monthly during heavy use. ENERGY STAR says airflow problems can cut system efficiency by up to 15%, and restricted proper airflow also causes excess condensate. Keep the system running efficiently and you reduce drainage load.
-
Visual inspection: Inspect drain lines every 3–6 months to prevent clogs. Look for kinks, sags or anything blocking the outside termination.
-
Cleaning: Periodic vinegar flushes into the drain pan or a cleanout tee control algae and biological growth in the condensate drain line. Avoid harsh chemicals that damage tubing or pumps.
-
Pump testing: For systems with condensate pumps, test the pump once or twice a year. Pour water into the drain pan or pump reservoir, confirm it runs and drains, and verify the safety switch trips if the reservoir overflows.
FAQ
Can a Mini Split Drain Run Up Into the Attic?
You can, but only if you use a condensate pump rated for the vertical lift into the attic, then maintain a consistent downward slope from the high point to the exterior wall discharge. Add an overflow safety switch on the pump and keep the attic drain piping insulated and supported to prevent sags and hidden leaks. Local code may require the condensate to terminate at a visible location so you can confirm the drain is actually flowing. Condensate pumps can lift water up to 11 inches vertically in basic built-in configurations, but external pumps can handle much more-check the pump's spec sheet for real flow rates at your required lift height.
What Size Drain Pipe for a Mini Split Extension?
Use 3/4-inch PVC pipe for condensate drain lines on any significant run. This matches or exceeds the drain outlet size on most indoor units and reduces blockage risk. Codes like the IRC expect condensate drain lines to be at least 3/4-inch in name, and going with a larger diameter is fine-going smaller is asking for clogs. Use proper adapters from the flexible factory drain hose to the rigid pipe, and avoid gluing directly to the unit's plastic outlet unless the manufacturer specifically lets you. Sharp edges on cut pipe should be smoothed to prevent catching debris.
Do I Need a P-Trap on a Mini Split Condensate Drain Line?
Most wall-mounted ductless mini splits with dedicated gravity drains to the outdoors do not need a p trap and usually work better without one, since a trap can hold slime and block flow. However, if the drain ties into sanitary plumbing, many codes require a p trap and sometimes a vent or air gap to block sewer gas. That's a situation where a licensed plumber or HVAC pro should be involved. Follow the specific mini split installation manual and local code. If they conflict, default to local code and professional guidance.
My mini split is leaking water after I extended the drain line-did I mess up the slope?
Likely culprits: you added an uphill section, created a low sag that holds water, reduced the pipe diameter or pushed the total run beyond what a small built-in lift pump can handle. Try a simple test: temporarily disconnect the extension and route the condensate to a bucket with a clear downhill slope. If the leak stops, your new drain routing is the problem. Fix the slope, shorten the run, or-if the layout forces an uphill section-install a proper condensate pump rather than trying to beat gravity. Costly repairs from water damage and structural rot are always more expensive than doing the drain right the first time. Maintain a minimum slope of 1/4 inch per foot on every section after the pump's lift point, and confirm proper drainage with a water test before closing up any wall or ceiling.