
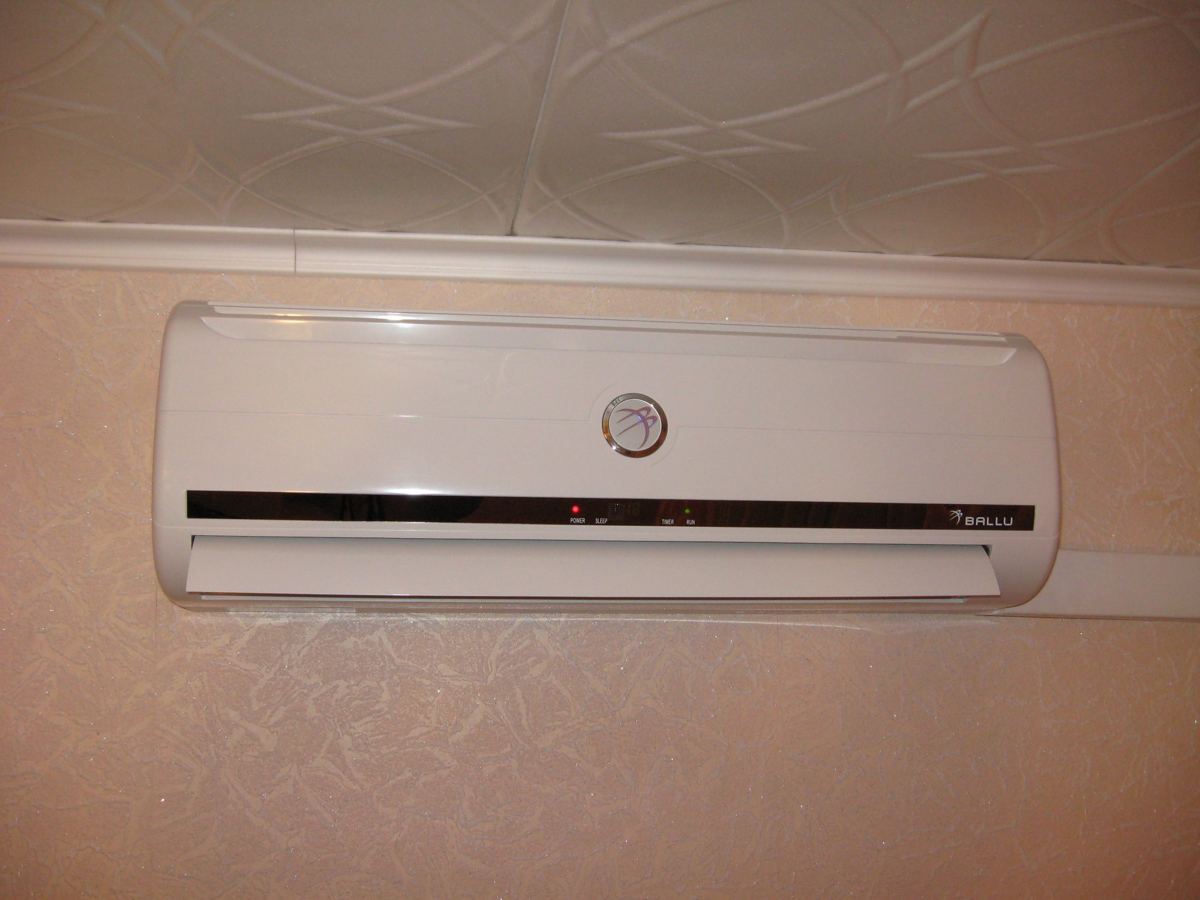

A mini split with plug lets you add ductless heating and cooling to a single room without rewiring your electrical panel or running new 220V circuits. This guide covers how these systems work, where they fit best, how to size and install them, and what separates 110v from 220v options.
Quick Answer: Can You Plug a Mini Split Into a Wall Outlet?
Yes. Modern 110v mini split systems can plug into a standard 110-120V wall outlet, but only when the unit is built for plug-in use and your local building codes permit it. Plug-in mini splits connect to standard wall outlets without hardwiring.
Most traditional mini splits are hardwired directly to the electrical panel. Newer plug in mini models, however, ship with a power cord kit and a properly rated plug (typically NEMA 5-15 or 5-20) that connects to a dedicated 15A or 20A outlet. This eliminates the need for conduit runs and junction boxes at the point of power entry.
Power is typically supplied to the outdoor unit first. An outdoor disconnect switch is required near the condenser for safety and code compliance. A disconnect near the outdoor unit lets technicians safely de-energize the system during maintenance.
The plug only changes the method of delivering electricity. A plug in mini split still uses refrigerant line sets and communication cables between the indoor and outdoor units. The rest of this article covers what a mini split with plug actually is, where it works best, how to size one, installation basics, electrical safety, and 110v vs 220v choices.
What Is a Plug In Mini Split System?
A mini split with plug is a ductless mini split air conditioner or heat pump that is factory-configured or kit-ready to draw power through a plug inserted into a standard household voltage receptacle (110-120V) instead of being permanently hardwired to your breaker panel. The ductless design of a mini split includes an indoor air-handling unit and an outdoor compressor unit.
Core components match any other mini split:
- Outdoor condenser/compressor on a concrete pad or wall bracket
- Indoor wall-mounted air handler (evaporator, fan, controls)
- Pre-charged refrigerant line set with quick-connect fittings
- Plug-in power cord kit with strain relief
These systems can feature pre-charged quick-connect lines, allowing easier installations without professional refrigerant handling. That is the key difference between "plug and play" kits and fully hardwired conventional mini splits, which require running conduit through walls and often need a licensed electrician.
Plug-in mini splits are often marketed as DIY-friendly solutions for spaces lacking existing HVAC systems. These systems usually have capacities ranging from 9,000 to 12,000 BTUs in single-zone configurations, serving one primary room or zone. Brands like Cooper and Hunter, MRCOOL, and LG all offer models in this format.
How Mini Splits Work (With and Without a Plug)
Regardless of whether the unit plugs in or is hardwired, every mini split air conditioning system uses ductless heating and cooling through the same refrigeration cycle: refrigerant circulates between two units, absorbing heat on one side and releasing it on the other.
The outdoor unit houses the compressor and condenser coil. In cooling mode, it rejects heat absorbed from inside your room. In heating mode, the cycle reverses; mini splits can function as heat pumps, extracting heat from outdoor air even in cold weather. The outdoor unit also serves as the primary power entry point.
The inside unit (the air handler) contains the evaporator coil, a fan, filters, a drain pan, and electronic controls. It delivers cooled or heated air directly into the room. Mini splits can be mounted on walls or ceilings, and they can be installed without ductwork, which is why they are called "ductless."
The line set connects the two units: two copper refrigerant lines plus control wiring bundled in an insulated sleeve. Many DIY kits come with pre-charged lines to reduce the chance of leaks during installation and eliminate the need for vacuum pumps.
Mini splits generally use inverter technology for efficiency in both cooling and heating. Inverter compressors adjust speed continuously rather than cycling on and off, which reduces energy consumption and keeps the room temperature stable. These efficiency and comfort features work the same whether your unit is a plug in mini split or a hardwired model.
110v Mini Split vs 220v Mini Split: Which Voltage Do You Need?
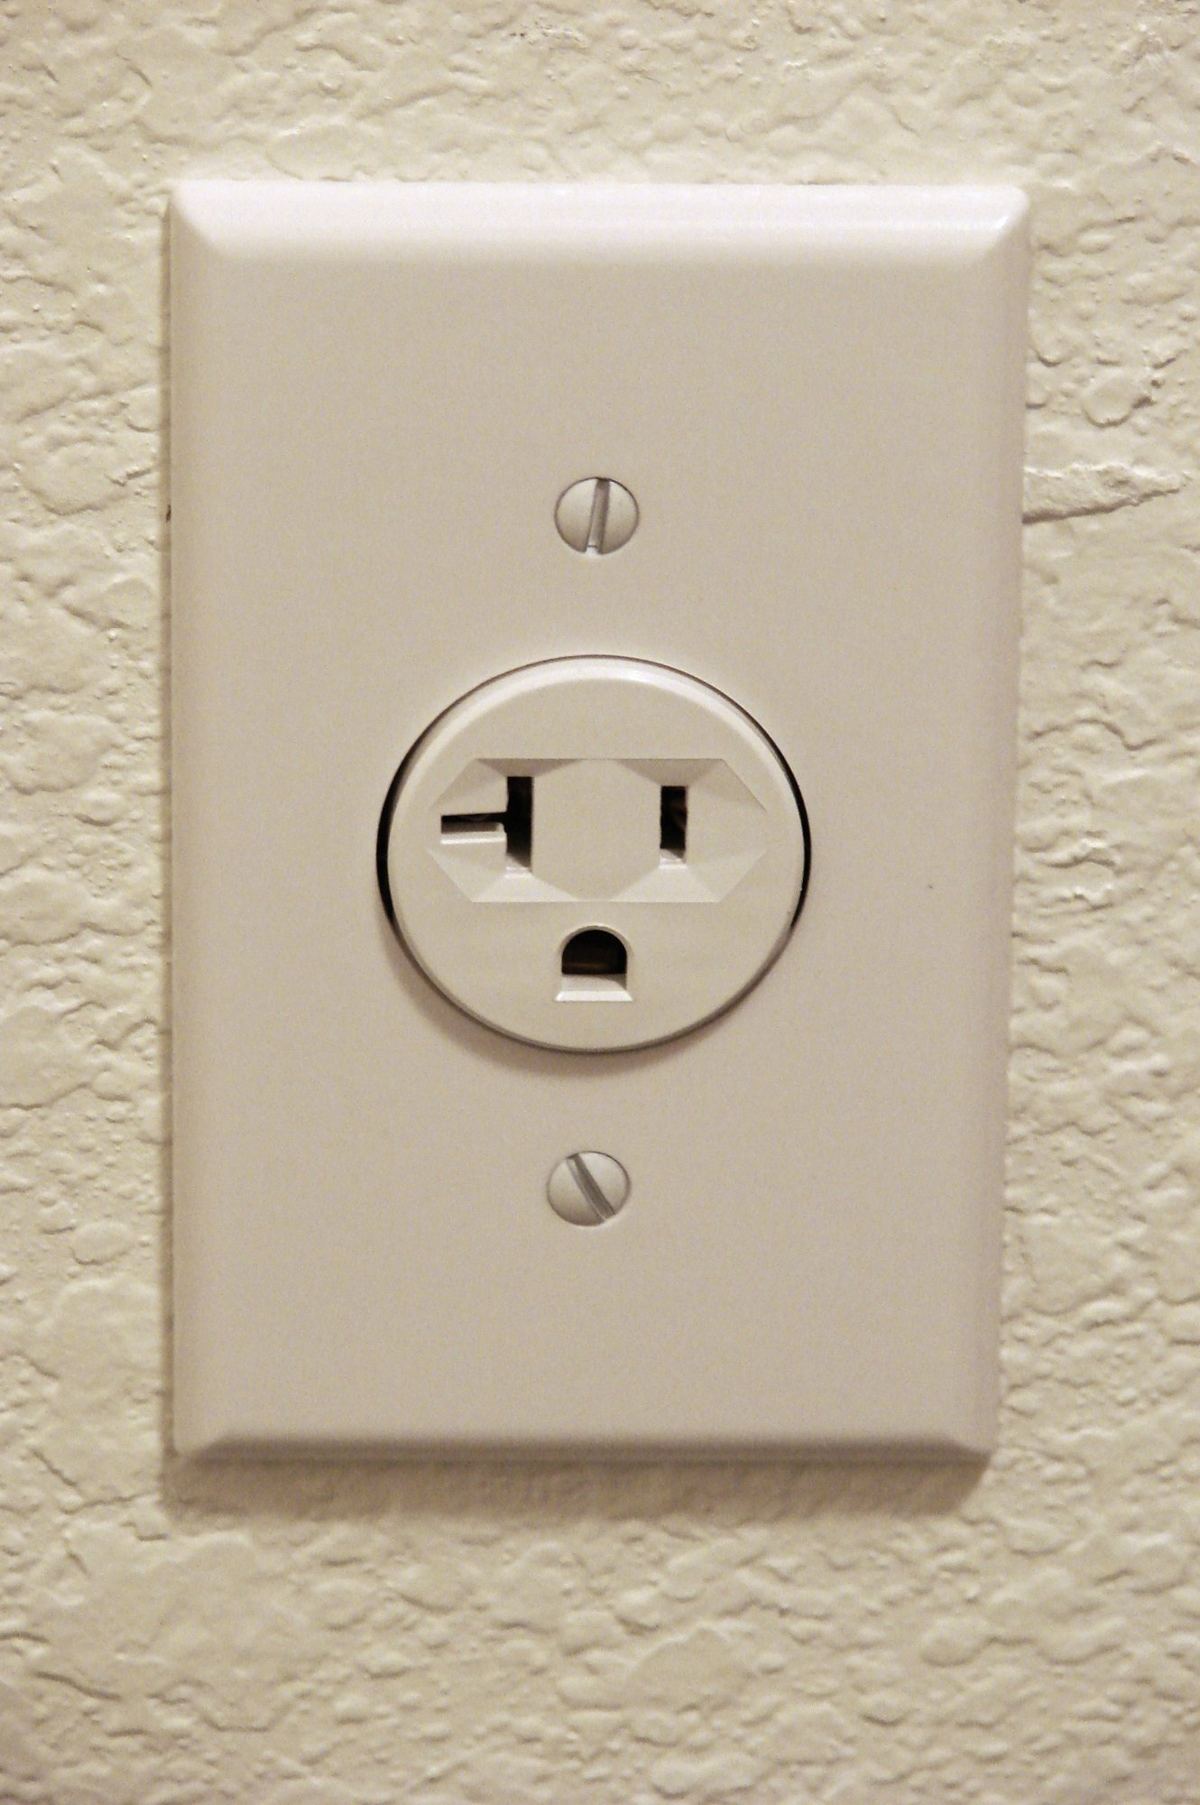

The difference between a 110v mini split and a 220v system comes down to capacity and installation complexity.
110v mini splits can be plugged into standard 110v outlets. They typically operate on standard 115V electricity and draw around 1,000 to 1,200 watts of power during operation. 110v systems are easier to install than 220v systems because they use existing household wiring. However, 110v mini splits are limited to about 12,000 BTU capacity, which covers rooms roughly 200-600 sq ft depending on insulation and climate. They require a dedicated 15A outlet for operation (some models require 20A).
220v systems (typically listed as 208-230V) can support higher capacities, up to 18,000 BTU and beyond. They handle large spaces, multi-zone installations, and extreme climates more comfortably, but they need double-pole breakers, heavier gauge wire, and often a panel upgrade.
| Feature | 110v Mini Split | 220v Mini Split |
|---|---|---|
| Max capacity | ~12,000 BTU | 18,000+ BTU |
| Circuit type | 15A or 20A, standard outlet | 20A-30A+, dedicated 220V circuit |
| Coverage | 200-600 sq ft | 600+ sq ft, multi-zone |
| DIY friendly | Yes, for many models | Usually requires electrician |
| Typical use | Bedroom, office, garage, ADU | Large living areas, whole-floor |
Choose a 110v plug in mini split for bedrooms, home offices, garages, ADUs, and rentals. Choose 220v for big open living areas or whole-floor conditioning where 12,000 BTU is not enough.
Benefits of Plug In Mini Split Systems
Plug-in ductless mini systems have gained ground for retrofit and DIY projects because they remove the two biggest barriers to adding climate control: ductwork and high-voltage wiring.
Installation simplicity. There is no need to open walls for long duct runs. Plug-in systems simplify installation without professional help in many cases. The electrical work is limited to confirming a dedicated circuit and outlet rather than running new 220V wiring from the panel.
Energy efficiency. Traditional HVAC systems can lose 20% to 30% of conditioned air through leaky ductwork. Mini splits avoid that loss entirely. Mini splits use 25-40% less energy than ducted systems, and many plug-in units now carry SEER2 ratings in the low- to mid-20s. Inverter compressors modulate output rather than cycling on and off, which cuts waste further.
Indoor air quality. Plug-in mini splits improve indoor air quality since they do not rely on ductwork, eliminating a common source of dust, allergens, and mold.
Zoning. Plug-in mini splits allow for independent heating or cooling of specific rooms, reducing overall energy consumption. They provide precise temperature control for each room. Turn the unit off in an unused guest bedroom; run it in your home office during the workday. This room-by-room control is especially useful for problem spaces like over-the-garage bonus rooms or sunrooms.
Convenience features. Most current models include remote controls, programmable timers, sleep modes, and WiFi or smart-home compatibility. Some are compatible with Alexa or similar voice assistants for hands-free control.
Best Applications for a 110v Plug In Mini Split


Plug in mini split systems are a perfect fit for retrofit or DIY projects where extending existing ductwork or adding a 220V circuit is impractical or expensive. They are ideal for homes without existing duct systems.
Residential spaces:
- Finished basements and converted attics
- Sunrooms and enclosed porches
- Small apartments and studio units
- Primary bedrooms in older houses built before central HVAC
Workshop and garage use. A mini split in a garage delivers targeted heating and cooling without conditioning the entire house. Plug-in mini splits can cool spaces typically up to 450-550 sq ft, which covers most two-car garages when the doors are closed.
Light commercial and office applications. Individual offices, small conference rooms, server closets, and recording studios all benefit from precise, quiet temperature control that can be matched to different cooling needs. A single 9,000 or 12,000 BTU unit handles these spaces without touching the building's central system.
Mobile and semi-permanent structures. Tiny homes, accessory dwelling units (ADUs), backyard offices, and similar structures often have 110V power already available. A plug-in unit avoids the cost of running a 220V circuit to a detached building.
How to Size a 110v Mini Split With Plug
Correct sizing is essential for comfort and energy efficiency. An oversized unit short-cycles, wasting power and leaving humidity high. An undersized unit runs continuously and never reaches the set temperature.
A simple rule of thumb: budget roughly 20 BTU per square foot for a room with average insulation, 8-foot ceilings, and a moderate climate. Hot or cold regions, large windows, poor insulation, or high ceilings all push the number up.
Specific examples based on common 110v models:
| Capacity | Room size | Typical use |
|---|---|---|
| 9,000 BTU | 200-450 sq ft | Bedroom, office, studio |
| 12,000 BTU | 350-600 sq ft | Master bedroom, open studio, garage |
110v mini units hit a ceiling around 12,000 BTU. Spaces over roughly 600 sq ft may require multiple single-zone units, a multi-zone 220V system, or a careful load calculation by a professional to confirm that a 12,000 BTU unit can keep up.
For a more precise match, consult a Manual J load calculation tool that factors in ceiling height, window area, insulation R-value, and sun exposure. Many manufacturers host online sizing calculators on their website.
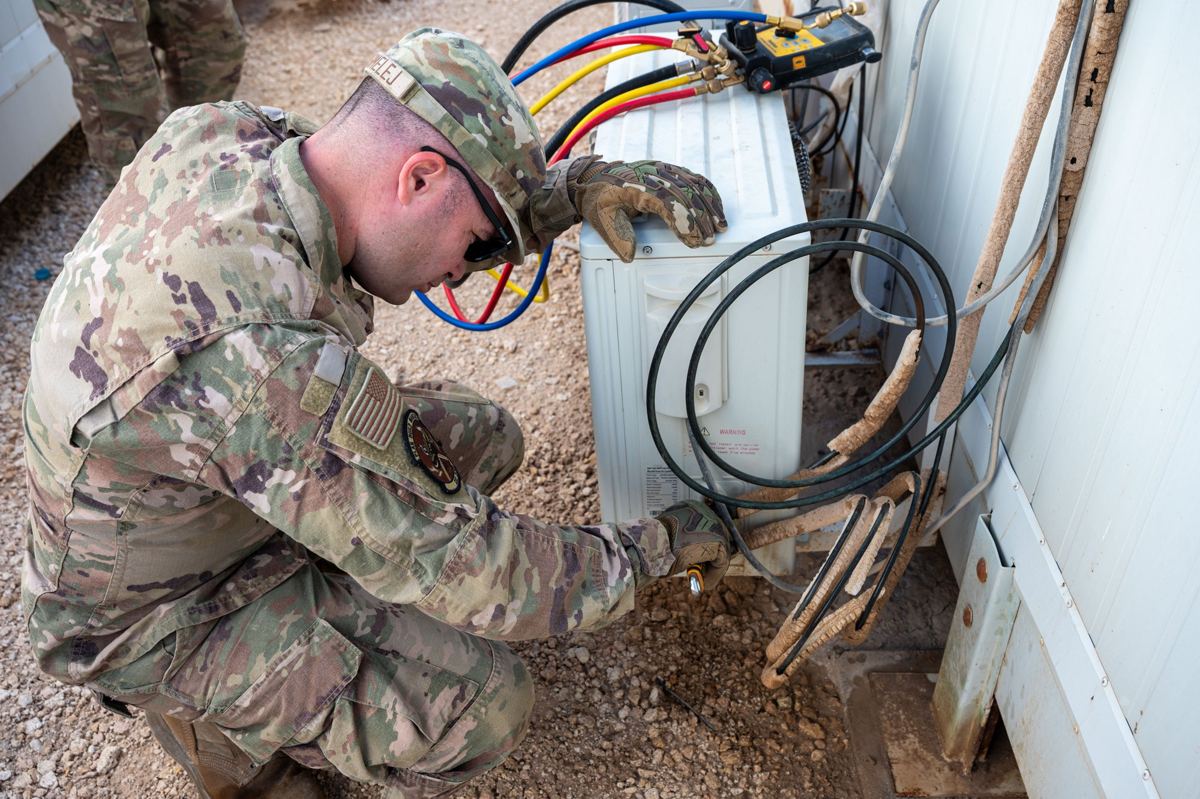
Installation Overview: From Wall Bracket to Plug
.jpg)
This is a high-level overview, not a replacement for the manufacturer's installation manual or your local code requirements. Always read the manual before you start.
Mounting the indoor unit. Select a wall location that can support the unit's weight, allows at least 6 inches of clearance above and 4 feet below, and keeps the unit away from direct sunlight or heat sources. Secure the mounting plate to studs. Plan the route for the line set and communication cable to exit through the wall.
Installing the outdoor unit. Place the condenser on a level concrete pad or a wall bracket rated for the unit's weight. Maintain at least 12 inches of airflow clearance on all sides (check the manual for exact specs). Keep the outdoor unit within the recommended line-set length, which is often 16 to 25 ft for DIY kits.
Routing the line set. Installation of plug-in mini splits often requires drilling a small hole (typically 3 inches in diameter) through the exterior wall for the refrigerant lines and wiring. Gently bend the pre-charged lines following the manufacturer's minimum bend radius. Tighten quick-connect fittings to the specified torque; over-tightening can crack flare nuts.
Power connection. Run a dedicated circuit to a 110-120V receptacle near the outdoor unit or at the location specified by the manufacturer. Use the included plug kit and cord. Install a weatherproof outdoor disconnect within sight of the condenser. Some jurisdictions require the outlet itself to be outdoor-rated and GFCI-protected.
Electrical & Safety Considerations for Plug In Mini Splits
.jpg)
Even "plug and play" mini splits must follow the National Electrical Code (NEC) and local building codes. Installation should comply with local building codes in every case.
Dedicated circuit. Plug-in mini splits require a dedicated circuit to prevent circuit breaker tripping. Check the unit's nameplate for its Minimum Circuit Ampacity (MCA) and Maximum Overcurrent Protection (MOCP). Most 9,000-12,000 BTU 110v units need either a 15A or 20A dedicated circuit. Wire gauge must match: 14-AWG copper for 15A, 12-AWG for 20A. No other heavy loads (space heaters, microwaves) should share that outlet.
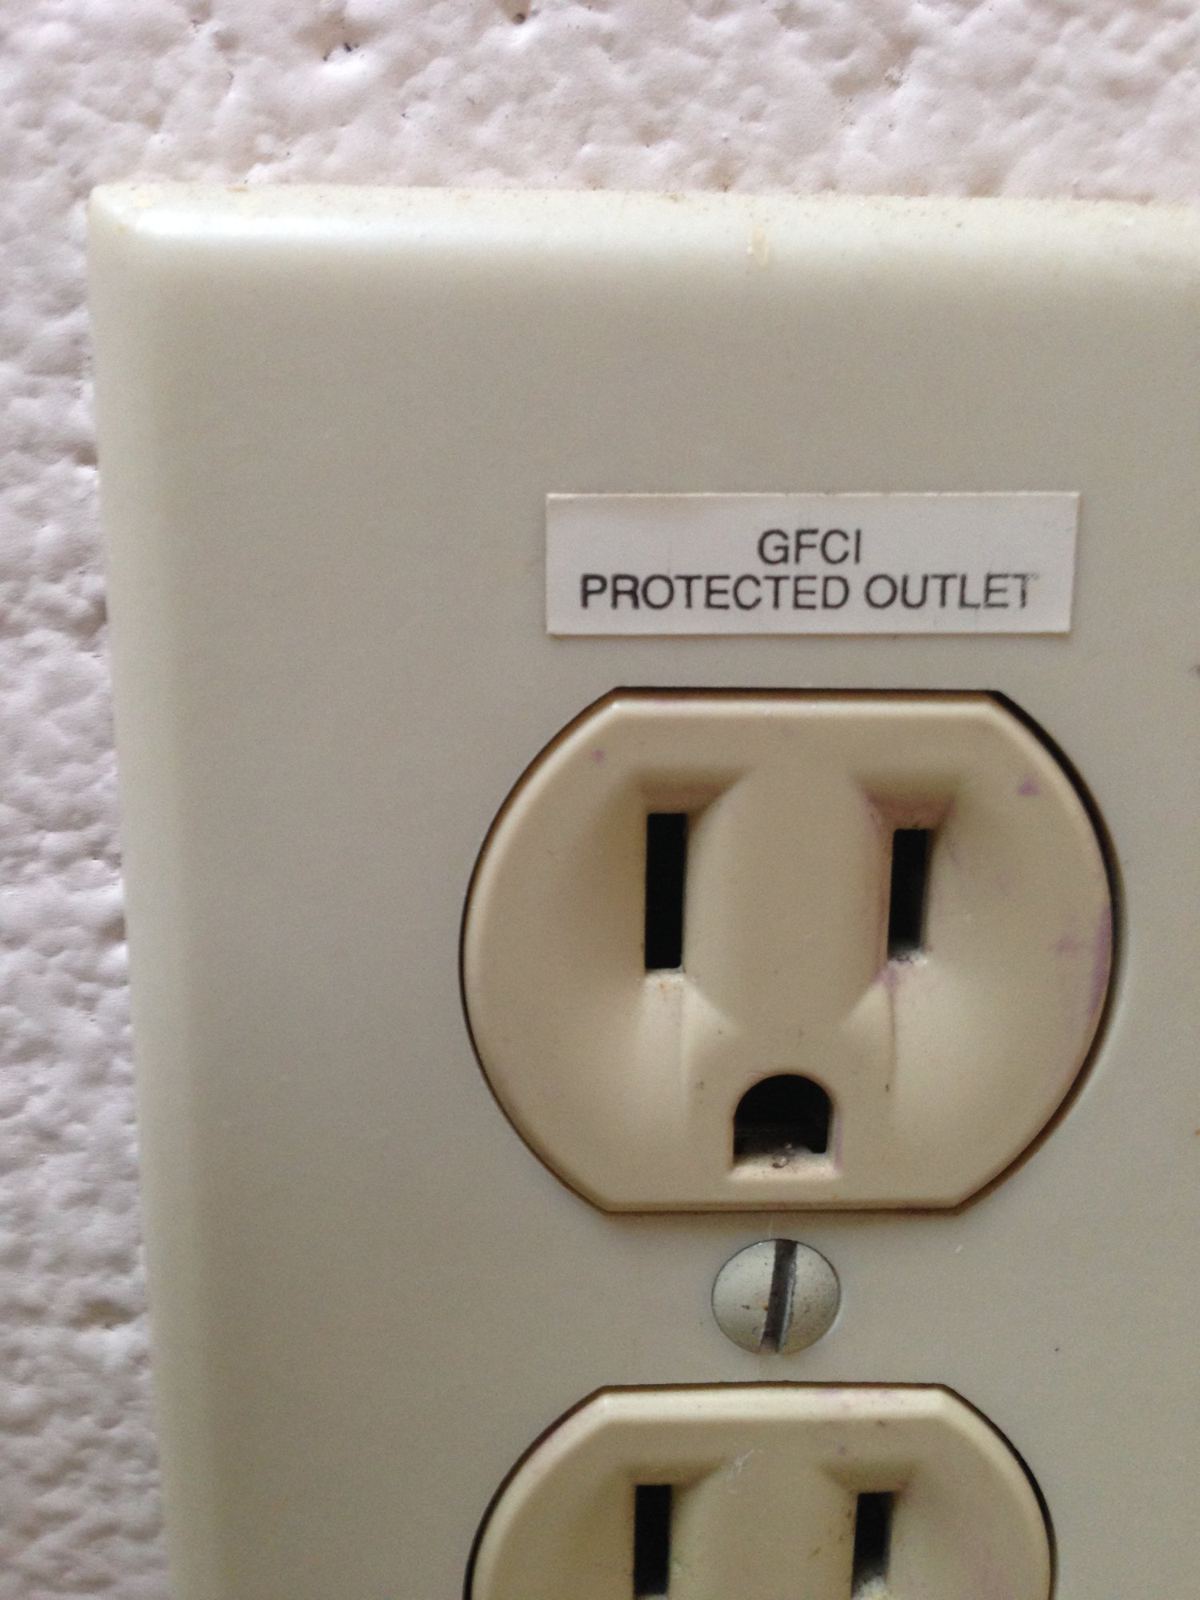
GFCI protection. NEC 2020 section 210.8(F) added GFCI protection requirements for outdoor outlets in dwelling units serving single-phase equipment at 150V or less to ground and 50A or less. This applies to many plug-in mini split outdoor connections. Garages and basements may also require GFCI or AFCI protection depending on jurisdiction.
Outdoor disconnect. NEC §440.14 requires a service disconnect within sight of the condenser so technicians can safely de-energize the unit during service or repair. Even plug-in units need this disconnect.
Verify plug-in legality. Some jurisdictions require all outdoor HVAC equipment to be hardwired, regardless of the manufacturer's plug-in option. If you are unsure, hire a licensed electrician to confirm what is legally permitted in your area before you purchase.
Never use an extension cord. Most manufacturer manuals prohibit extension cords due to voltage drop risk at compressor startup, which can damage the unit and void the warranty.
Mini Split With Plug vs Window AC and Portable Units
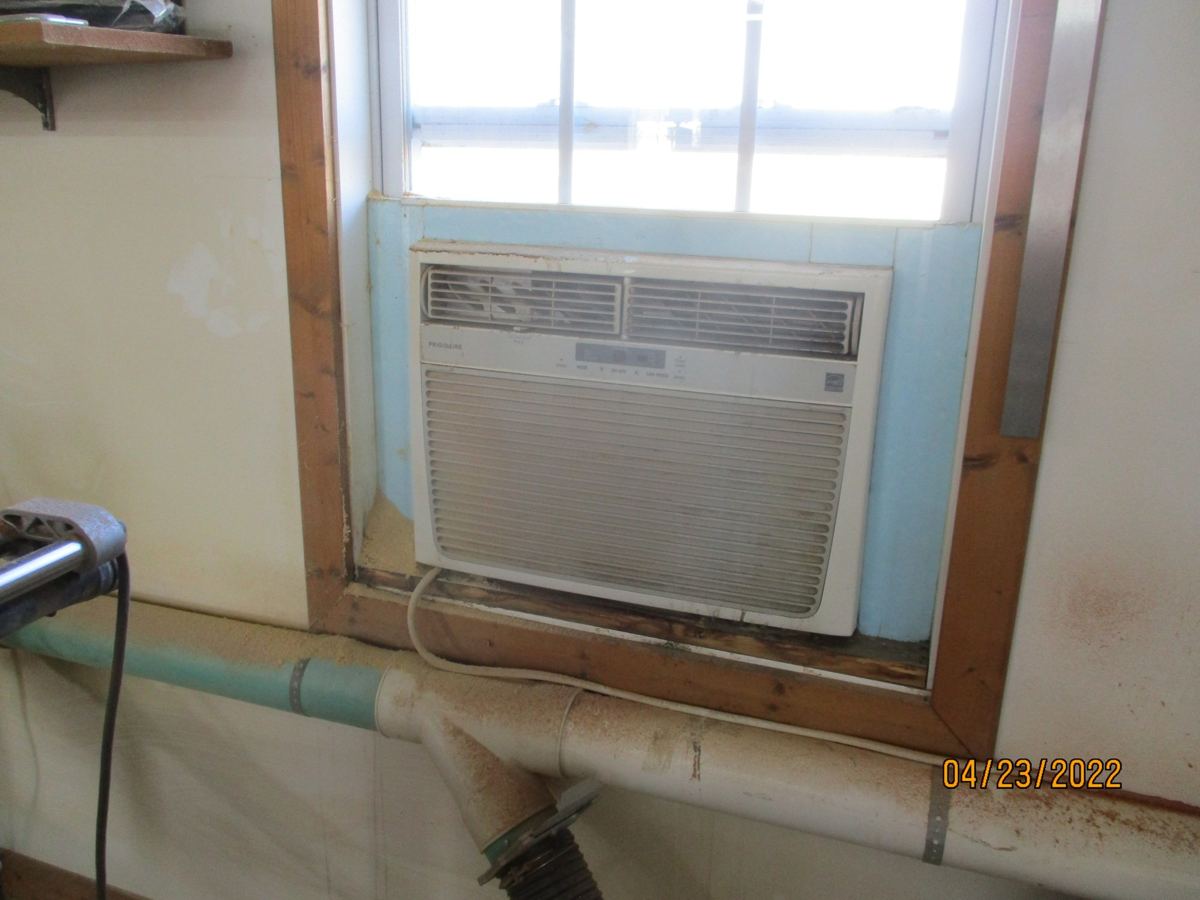

A plug-in mini split is a step up from a window or portable AC in several measurable ways.
Noise. Mini splits keep the compressor in the outdoor unit. Indoor sound levels for many ductless models run 25-40 dB. Window units house the compressor inside the window frame, producing 50-60 dB or more at close range.
Efficiency. Many plug-in mini splits carry SEER2 ratings of 20-24. Window ACs typically fall below SEER2 15. Inverter compressors in mini splits modulate output continuously; fixed-speed window units cycle between full power and off, wasting energy at each startup.
Aesthetics and security. A mini split needs only a 3-inch wall penetration for the line set. A window unit blocks a window, reduces natural light, and creates a security vulnerability by leaving the window partially open.
Heating capability. Many mini splits are heat pumps that extract heat from outdoor air even in cold weather, with some models rated to operate down to -13°F. Most window and portable units are cooling-only, and the few with heat mode rely on inefficient electric resistance elements.
| Feature | Plug-in mini split | Window AC | Portable AC |
|---|---|---|---|
| Indoor noise | 25-40 dB | 50-60 dB | 50-65 dB |
| SEER2 range | 20-24 | 10-15 | 8-12 |
| Heating mode | Heat pump (most models) | Rare, inefficient | Rare, inefficient |
| Window blocked | No | Yes | Partial (exhaust hose) |
Key Features to Look For in a Plug In Ductless Mini Split
Look beyond BTU rating and price. The features below separate a unit that lasts 12 years from one that creates issues in year two.
Efficiency metrics. Target a SEER2 rating of 20 or higher. HSPF2 of 10 or above matters in cold climates. Confirm inverter compressor technology. Energy Star certification, where available, validates tested efficiency. For reference, the Cooper and Hunter Olivia 9K carries a SEER2 of 24.5, while the MRCOOL DIY 12K posts a SEER2 of roughly 23.6.
Cold-climate performance. If you plan to use the unit for winter heating, check the minimum outdoor operating temperature. Some models heat reliably down to -13°F; others stop at 5°F. This is the sort of spec that determines whether the unit is a real heat pump or a warm-weather-only cooler.
Comfort and convenience. Multi-speed fans, dehumidify mode, sleep curves, WiFi app control, and voice assistant compatibility (Alexa, Google Home) all add daily value. Test these features in a showroom or read verified reviews before you commit.
Practical details. Confirm the line-set length included (16 ft is common; 25 ft is more flexible for difficult layouts). Check the cord-kit length and plug type. Review warranty terms; 5-7 years on the compressor is standard for this class. Verify that replacement parts and technical support are connected to a responsive brand with domestic stock.
Maintenance and Longevity of Plug In Mini Split Systems
Regular light maintenance helps any ductless mini split last 10-15 years or more, regardless of plug-in or hardwired power.
Homeowner tasks (monthly to quarterly):
- Clean or replace air filters every 4-8 weeks. Clogged filters reduce airflow and force the compressor to work harder.
- Gently wipe the indoor coil and housing with a damp cloth.
- Keep the outdoor unit's coils free of leaves, grass clippings, snow, and debris. Maintain at least 12 inches of clearance around the condenser.
Seasonal checks:
- Verify the condensate drain line is clear. A blocked drain can cause water damage inside the room.
- Inspect line-set insulation for cracks or gaps that allow thermal losses or ice formation.
- Listen for unusual noises or vibration, which can signal loose mounting hardware or a failing fan motor.
Professional service. Schedule a technician visit every 1-2 years for a deeper inspection: refrigerant pressure test, leak detection, electrical terminal tightening, and heat exchanger evaluation. If cooling or heating performance drops, a professional can run diagnostics before a small issue becomes a compressor failure.
Using a dedicated outlet, avoiding overloaded circuits, and following manufacturer electrical specs helps protect compressors and electronics over the long term. An efficient system is one that is properly maintained.
Frequently Asked Questions About Mini Splits With Plugs
Common questions from homeowners exploring plug-in mini split options:
- Can I run a plug in mini split from an extension cord? No. Extension cords create voltage drop, which can damage the compressor at startup. Every manufacturer manual reviewed prohibits extension cords, and building code does not allow them for fixed appliances.
- Can I install a plug in mini split myself? Many manufacturers, including MRCOOL, explicitly support DIY installation for specific models with pre-charged line sets. The mechanical portion (mounting, line-set routing) is within reach for a handy homeowner. The electrical portion (adding a dedicated circuit, installing a disconnect) often requires a licensed electrician under local law. Handling refrigerant on non-precharged systems requires EPA Section 608 certification.
- Will a 110v mini split increase my electric bill? It uses electricity, so yes, it adds load. But if you are replacing a window unit or portable AC, the higher SEER2 rating (20-24 vs. 10-15) often means lower cost per BTU of cooling or heating delivered. Running the unit only in occupied rooms saves money compared to conditioning an entire house.
- Can I move my plug in mini split if I relocate? Technically possible, but it requires disconnecting and reconnecting refrigerant lines, which should be done by a certified HVAC technician. The new location needs its own dedicated circuit, outdoor disconnect, and code-compliant installation. Factor in the cost of a new line set if the original is too short or damaged during removal.
- Do I need a permit? Many jurisdictions require a permit for HVAC installation, even for plug-in units. Check with your local building department before you start. Failing an inspection is more expensive than pulling a permit upfront.
Explore available 110v mini split models by measuring your room, confirming your electrical panel has space for a dedicated circuit, and checking your local code. The right unit, properly installed, delivers efficient, quiet comfort for a single zone without the cost or complexity of a full HVAC overhaul. Create an account with your preferred retailer to track pricing and stock, and bring your room measurements to a sizing calculator before you purchase.