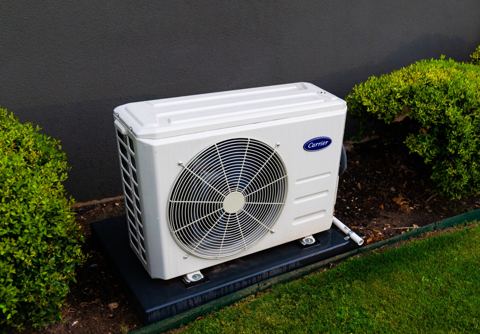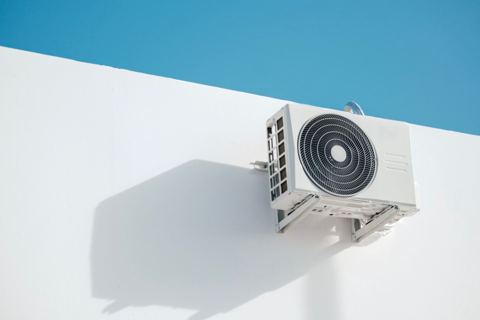
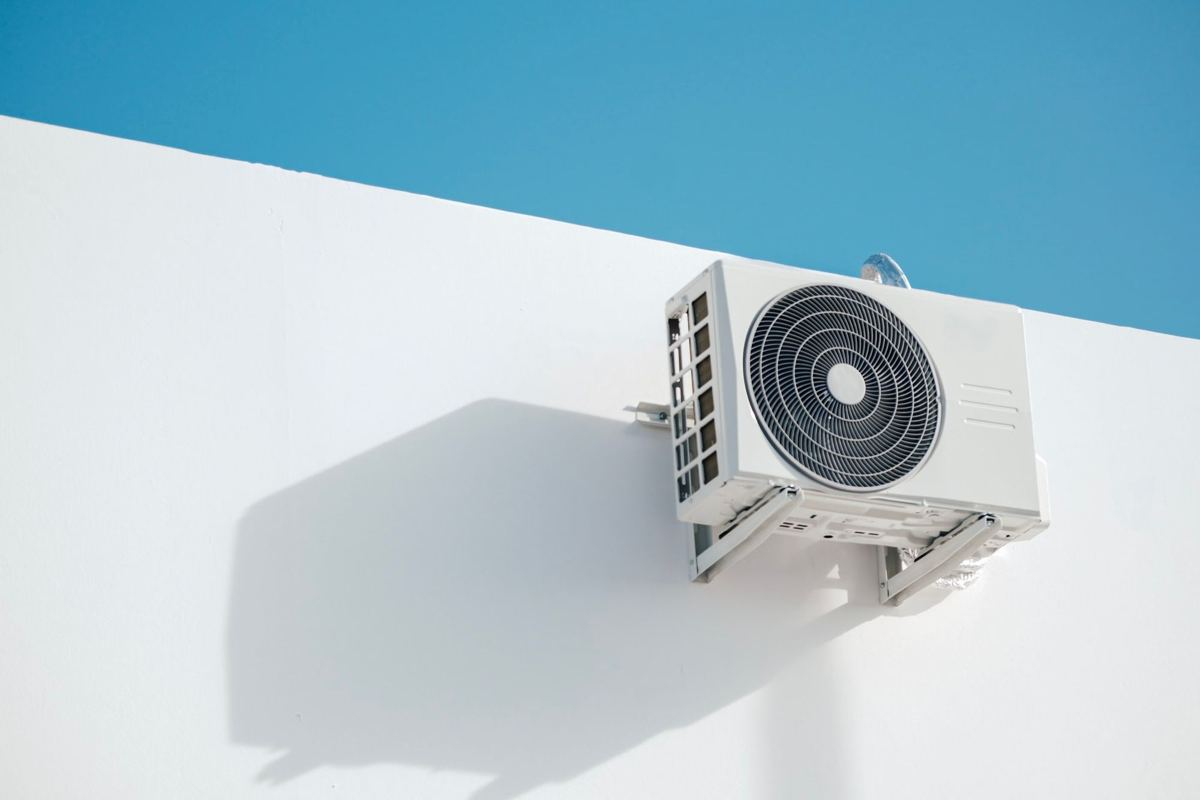
Mini split outdoor unit clearance is what you need to figure out if you are putting in a new system or wondering why the one you've got can't keep up on a 110°F afternoon in Mesa. The outdoor unit has to have room to breathe, and I'll walk you through how much.
What You Need to Know
Most mini split outdoor units need about 24 inches of open space in front of where the fan blows air out, and typical clearance guides suggest 12–24 inches around the sides and back. The top of the unit needs at least 3 to 5 feet of open space so exhaust air does not get trapped. But the manual for your specific unit is what you should go by, not any rule of thumb.
-
Front (fan discharge): The front of the unit should have at least 24–72 inches of open space, depending on the model. This side needs the most room.
-
Back (wall side): The back needs 4–12 inches depending on whether it is on a bracket that is mounted to the wall or sitting at ground level.
-
Sides: 8–24 inches. The service panel side has the most room.
-
Top: There's at least 24 inches of space to soffits or overhangs. More is better.
-
Bottom: 4–12 inches off the ground. Higher in snow country.
Mini-split systems have to keep clear space around all sides so air can flow through. When you have proper clearance around a ductless mini-split outdoor compressor unit, air can move freely and the equipment has a longer life and the system stays reliable. There is no universal number - every mini split outdoor unit has its own clearance chart in the installation instructions, and ignoring it can void the warranty or shorten compressor life.
What are the most common ways you accidentally cut off airflow over time? Shrubs grow into the coil, snow piles cover the base, and decorative screens get placed too close to the fan. You can plan placement and build pads or stands, but refrigerant piping and system start-up should always be left to a licensed tech.
Why Mini Split Outdoor Unit Clearance Matters
Here's what happens when you don't give the unit the clearance it needs:
-
Hot discharge air is looping back into the condenser coil, and that is raising the temperature of the air going in
-
Head pressure goes up, and the compressor has to work harder
-
Restricted airflow increases energy consumption and reduces cooling capacity - one study on similar HVAC configurations showed clear increases in power input when space was reduced even a little
-
Not enough clearance can make the compressor overheat and fail
Building codes mostly care about access and holding the unit down. The exact inches for airflow are in the unit's installation manual, not some generic rule of thumb.
Mini Split Outdoor Unit Clearance: How Much Space?
Here's a planning chart you can actually use for modern inverter mini splits:
| Face | Typical Minimum | Notes |
|---|---|---|
| Front (fan discharge) | 24–48 in | Some models ask for 40+ in; GREE specifies 6.5 ft for certain units |
| Back (wall side) | 4–8 in on a wall mount bracket; 8–12 in on the ground | More space = easier cleaning |
| Sides | 8–12 in | Service panel side needs more room |
| Top | 24+ in to soffits or decks | Maintain at least 6 inches of clearance above the unit as an absolute floor |
| Bottom | 4–12 in above pad | 12–24 in in snow regions |
Outdoor units need at least 24 inches of clearance as a general planning number. But there is no one universal clearance - these are starting points. Look up the clearance diagram for your specific model.
When you install multiple mini split units close together, fan discharge from one outdoor unit can feed straight into the next. Space between units matters just as much as space to walls.
Clearances for Front, Back, Sides and Top
Front (fan discharge): Most mini split outdoor units want at least 24 inches of open space in front. Some manufacturers ask for 40 inches or more. Picture a condenser on a pad 2 feet from a block wall - fine, it generally works. Now picture it 12 inches from that same wall. The hot air hits the wall and rolls right back into the coil. That is how you lose 10% or more of your cooling capacity on a day you need every BTU.
Back (wall side): When you use a wall mount bracket, the typical spec is about 4 inches minimum to a solid wall. If the unit is on a pad very close to an exterior wall, some manufacturers ask for 8–12 inches to prevent heat build-up against the surface.
Best Spots for Outdoor Units and What to Avoid
-
Near the indoor unit so the refrigerant line sets can stay short and can work with good efficiency
-
On a solid, level surface like a concrete or composite pad, and away from bedroom windows
-
In a lightly shaded, well ventilated area that still has open space in front of the fan
Spots to avoid:
-
Tight spaces where you can't keep front clearance or get to the unit for service
-
Under low decks that cut down top and side space and trap hot air
-
Next to heat sources like dryer vents, pool equipment exhaust or gas meters
The best spot for the outdoor unit also depends on noise. Carrier recommends putting condensers in a well ventilated area away from bedroom windows and nearby properties. Clearance is not just about airflow - it's about sound comfort too. Even when airflow is fine, certain spots near bedrooms or property lines can cause noise complaints.
Outdoor Clearance and Indoor Unit Placement
For indoor placement:
-
Indoor units should be mounted 6–8 feet above the floor with several feet of clear wall space on the left and right
-
Indoor units need 6 inches of clearance from the ceiling
-
The minimum wall clearance for 6,000 BTU units is 5.9 inches. There's at least 3.9 inches of side space for indoor units
-
Position units in the center of walls for the best air distribution
-
Avoid placing units near heat sources like stoves or direct sunlight hitting the sensor
-
Keep the area around the unit clear of furniture, tall shelves or room partitions that break up air distribution
Short, direct line sets between indoor and outdoor units mean you use less refrigerant, get better efficiency and have fewer chances for kinks. Manufacturers put out the maximum line length and height difference in their manuals. You can plan the layout yourself, but line sizing, refrigerant charging and vacuuming should be done by an EPA-certified tech. This is where indoor air quality and long term performance really connect - the whole system has to work together.
Keeping Clearance Over Time
Direct sunlight and temperature: Avoid placing the mini split outdoor unit in full afternoon sun if there's a reasonable alternative. A small awning or shade structure that still meets top and front space needs can help, but solid overhangs that sit too low trap hot air and hurt best performance. Do not install right under black metal roofs or sun-baked stucco walls that give off extra heat into the condenser.
Service Access, Codes and DIY Boundaries
Service clearance: Leave at least 24 inches clear in front of the service panel so the cover can open fully and a tech can kneel there. Keep the path to the outdoor unit free of permanent obstacles.
Codes and local rules: Building codes mostly speak to anchoring, electrical clearances and working space - not a universal "X inches around a mini split." The City of Mesa says you don't need a permit to replace an air conditioner if the new unit uses the same or less electricity than the old one, but changing the electrical connections does require a construction permit. Also check HOA rules and property-line setbacks if you're putting the outdoor unit near fences or side yards.
DIY vs. pro: You can safely pour a small pad, bolt down a condenser pad or stand, trim plants and check clearances with a tape measure. Leave refrigerant piping, pressure testing, evacuating with a vacuum pump, and wiring high-voltage connections to licensed pros.
Mini Split Outdoor Unit Clearance for Special Cases
Under decks and balconies: This can work if the deck sits at least 2–3 feet above the top of the unit, has open lattice or big gaps between boards, and full manufacturer front and side space is kept. Low, solid decks trap hot air and usually fail both airflow and service-access tests.
Between neighboring walls or fences: You need a minimum width of about 4 feet between walls to place a unit and still keep front clearance and service access. If the alley is narrower, move the mini split outdoor unit to an end wall or corner where it can actually breathe.
Multiple outdoor units: Space them so discharge air from one doesn't aim at another's intake. Daikin, for example, needs at least 36 inches between condenser coils on multi-unit installs. Always follow the manufacturer's multi-unit diagrams - they exist for a reason.