Yes, your mini split condenser can absolutely sit on the ground-and for most homeowners, that's the simplest, cheapest way to install it. But "on the ground" doesn't mean tossing the unit on bare dirt and calling it done. There's a right way to do this, and skipping the details costs you efficiency, warranty coverage, and possibly the compressor itself. Here's everything I know from doing these installs in Mesa, AZ, and what applies no matter where you live.
Key Takeaways
- Homeowners can handle site prep, pads and basic mounting, but any refrigerant work requires an EPA 608-certified tech under federal law (40 CFR 82.154(c)).
Can a Mini Split Condenser Sit on the Ground? (Short Answer)
Yes. I put mini split condensers on the ground all the time, and it's the most common setup I see. The ways to mount a mini split include pads, stands and wall brackets, but a ground pad is the standard, not the exception. Wall brackets and elevated stands are alternatives you choose for specific site problems, not requirements.
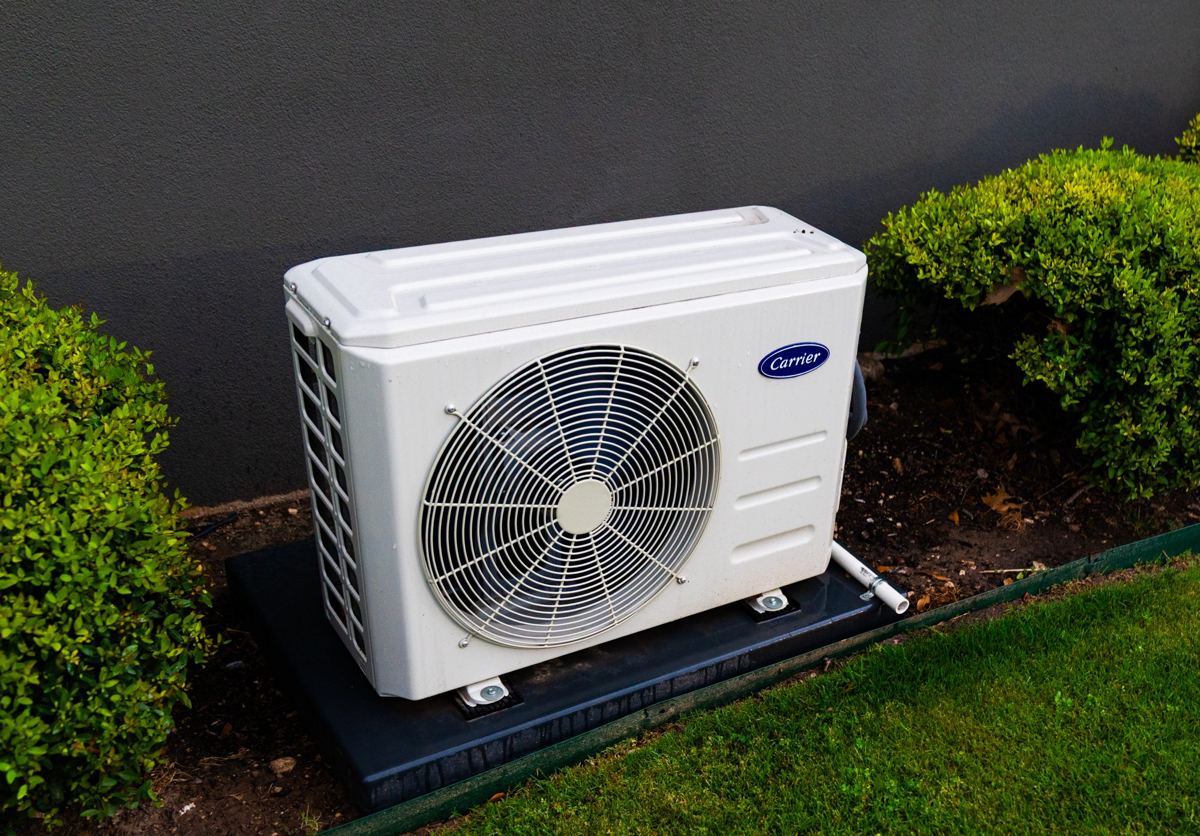
When I say "on the ground," I mean on a condenser pad. Placement on bare ground can lead to settling and damage to refrigerant lines over time. Soil shifts, grass grows into the cabinet, and the unit sinks unevenly. A proper pad prevents all of that.
This applies to both cooling-only condensers and heat pump mini split outdoor units, as long as you follow local codes, manufacturer specs and clearance requirements. The only times I'd steer you away from ground placement are flood-prone spots, regions with deep snow or tight side yards where air circulation gets choked off.
Ground or Wall for Mini Split Outdoor Units
Ground pad mounting is usually the cheapest option. With a ground pad that's put in the right way, you get a lower cost and a less complex install than the other choices. You get excellent stability, and ground installations transfer less vibration to living spaces than wall mounted units. Service access is easier at knee height, and your HVAC tech will thank you. Ground placement can make servicing and maintenance easier overall.
On the downside, ground-mounted units are more exposed to pests than elevated installations. Weeds, blowing debris, kids and pets are all closer to the unit. In areas with heavy snow or flood zones, you have added risk.
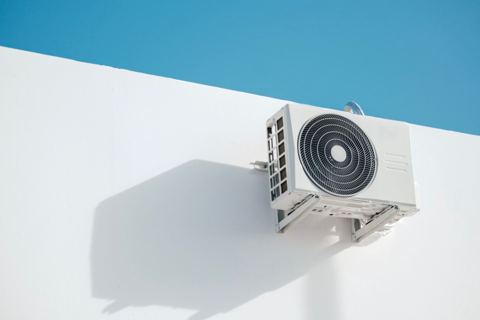
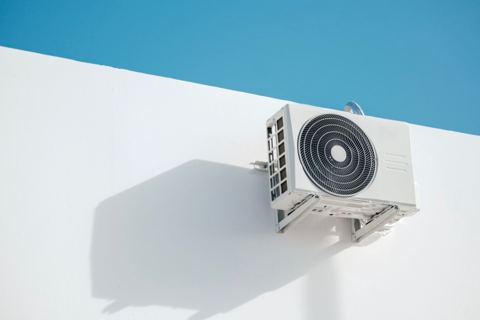
Wall brackets let you mount directly to the exterior wall and keep the outdoor unit above snow, water and yard debris. They free up ground space, which matters in a small area next to the house. However, high winds can affect wall-mounted units more than ground placements. They also transfer noise and vibration into framing, need solid masonry or stud work, are harder for a DIYer to get level, and make service access harder.
Elevated stands lift the mini split condenser off the ground by 12–24 inches using a steel stand or metal frame on a pad. Mini-split stands raise the unit up to protect it from leaves and light flooding while keeping it easy to reach. This is the hybrid approach, still ground-based and accessible, but with extra clearance underneath.
In warm, dry climates like Mesa, AZ, a simple ground pad is usually the best location if you have the room. No deep snow, little heavy rain, just set it right and move on.
What a Ground-Mounted Mini Split Condenser Needs
I usually use a 2–3 inch thick concrete pad or a composite HVAC pad rated for the unit's weight, placed on packed soil or gravel. Condenser pads give outdoor units a level surface and stop the shifting you'd get from bare earth. Carrier specifically recommends that outdoor units sit on a solid, level surface and that you follow the manufacturer instructions.
Level matters more than you realize. A compressor that sits at an angle pools oil the wrong way, causes the fan to go out of line, and creates noise. Use a carpenter's level in both directions during install. The need for a stable platform is the same whether you have a single-zone ductless mini split or a multi-zone system with a larger condenser unit.
The pad should extend a couple inches beyond the unit footprint on all sides for stability and splash protection. And don't set it on loose backfill right next to a new foundation, pack the soil first so the pad doesn't settle and twist the unit over time.
How Much Clearance Does a Grounded Mini Split Condenser Need?
This is one of the biggest mistakes homeowners make, stuffing the condenser in a tight corner or behind shrubs "to hide it." Keeping clearance around the mini split is crucial for airflow efficiency, and things that block the unit can cause uneven temperature distribution inside the room the system serves.
Here are typical rule-of-thumb numbers that line up with most manufacturer manuals:
-
Front (discharge side): at least about 24 inches of clear space
-
Back (toward wall): 4–6 inches from the exterior wall
-
Sides: 12–24 inches
-
Top (under overhang or eave): 4 feet or more
The exact how much clearance requirement is always in your manufacturer's install manual, treat those numbers as minimums, not goals. The 2024 International Residential Code also requires at least 3 inches above finished grade around the unit's base.
Lack of enough clearance causes high head pressure, noisy operation and higher energy use because the heat pump has to work harder in restricted airflow. Keep at least a 3-foot clear zone in front for service access so a tech can remove panels and hook gauges without fighting bushes or fences. Maintain at least 1–3 feet of clearance around outdoor units as a working baseline.
Best Ground Placement for Mini Splits
In hot climates, I try to keep the mini split outdoor unit out of direct afternoon sunlight. Hotter intake air raises head pressure and hurts efficiency. The west side of a house in Arizona is the worst spot in summer. North or east sides are usually better, with light shade and open air distribution, not a cramped, dark corner.
Avoid installing the condenser near these common heat sources:
-
Gas meters and regulators
-
Clothes dryer vents (lint coats the coil and makes the heat pump run longer)
-
Pool equipment exhaust
-
Attic vents that dump hot air onto the unit
-
BBQ grills
Avoid placing units near heat sources to prevent the system from working too hard. Also, don't put a condenser directly under an indoor unit's condensate drain unless that drain is properly piped away from the pad.
Ground Mounting in Different Climates and Yards
Hot, dry areas (Arizona, Southwest): Watch out for sun exposure, dust and landscaping. Keep the condenser off bare dirt, away from rock landscaping that sends heat back up, and at least a few inches above gravel to cut down on dust intake. Avoid areas that flood even during monsoon season.
Rainy climates: The pad should sit slightly above grade with the ground sloping away from the house so the condenser doesn't sit in standing water. Outdoor units should be protected from strong winds and heavy snow where applicable.
Cold/snowy regions: Raising the unit up helps prevent snow and ice from blocking it in cold climates. "On the ground" usually means a pad plus a stand that keeps the bottom of the coil 12–24 inches above typical snow depth. Keeping the unit above expected snow accumulation prevents airflow obstruction.
Coastal areas: Use a composite pad and stainless or coated fasteners to reduce corrosion from salt air. You'd still ground mount, just with better materials.
Narrow side yards: Certain areas with tight property lines might push you toward a slim stand or wall mount to maintain code-required clearances and decent proper ventilation around the unit.
Line Set and Drain Tips
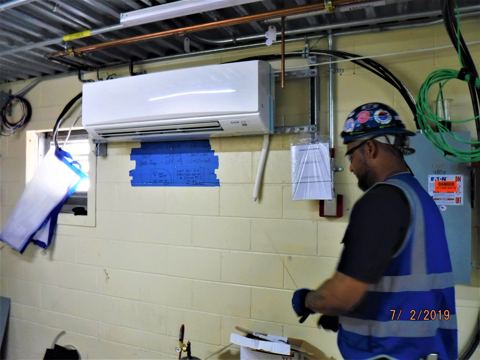
The mini split indoor unit and condenser unit work as a pair, so ground placement on the exterior has to coordinate with the indoor head location. Indoor units should be mounted 6–8 feet above the floor for proper air distribution in the room.
The ideal way to run the line set is short and direct, with gentle bends and within the manufacturer's allowed line length and elevation difference between the indoor and outdoor unit. If the condenser is much lower than the indoor unit, which is common with a ground mount, that's usually fine as long as you stay within the max vertical separation listed in the manual.
Ground placement often makes the condensate drain from the indoor unit easier. You can route drains downward to daylight without a condensate pump if you plan heights correctly. Just make sure the drain doesn't empty directly onto the condenser pad.
A safety reminder, homeowners can run pre-flared, pre-charged line sets on some DIY mini split kits, but if a system needs vacuuming, charging or refrigerant adjustments, only an EPA 608-certified tech can legally handle the refrigerant.
Protecting a Ground-Mounted Mini Split Condenser
-
Keep outdoor units away from debris and plants that hang over them. Keep at least 2–3 feet between the unit and shrubs or fences, and trim vegetation back twice a year.
-
For pets and kids, consider a small, open metal barrier fence around the unit to prevent soccer balls, weed trimmer damage and dog urine on the cabinet.
-
Vibration isolation pads can reduce noise transmission from the condenser. Place them between the condenser feet and the concrete block or pad, especially near bedrooms.
DIY vs Pro for Homeowners
Homeowner-safe tasks:
-
Selecting the outdoor location
-
Pouring or leveling a pad
-
You can anchor the condenser feet to the pad
-
You can run a line-set cover on the wall
-
You can run the condensate drain for the indoor unit
Pro-only work: Pulling a vacuum, opening service valves or adding/removing refrigerant. Since January 1, 2018, federal rules (40 CFR 82.154(c)) bar selling HVAC refrigerants such as R-410A or R-454B to anyone who isn't EPA 608-certified or buying for a certified employee. A homeowner can install a pre-charged system but can't legally buy refrigerant to top it off.
The best workflow in most cases is when the homeowner gets the pad and location ready, then a licensed HVAC tech sets, connects and commissions the ductless mini split system. Always shut off power at the disconnect and breaker before working around condenser wiring or cleaning the unit.
Maintenance Tips for Ground-Mounted Mini Split Condensers
ENERGY STAR says airflow problems can cut system efficiency by up to about 15%. Their advice for central systems, check filters monthly, applies directly to mini split units too. Clean or replace indoor filters as needed.
For the outdoor condenser:
-
Visually inspect the coil every season
-
Clear leaves and trash from around the unit
-
Gently rinse dust off the fins with a garden hose (make sure the power is off first)
Check that the pad is still level once a year. If it's leaning or sinking, call a pro to re-set the condenser rather than trying to lift a pressurized unit yourself. A professional maintenance visit every 1–2 years is smart, especially for heat pump systems used year-round for both heating and cooling, to clean coils properly, check refrigerant levels and test electrical components.
FAQ About Ground-Mounting Mini Split Condensers
Can I Put a Mini Split Condenser on Gravel or Dirt?
No. Gravel or dirt alone isn't stable enough. With a solid pad, concrete pad or composite, placed on packed gravel or soil so it stays level and doesn't sink or twist, the condenser has the support it needs. A level surface prevents compressor oil pooling and fan alignment problems that lead to noise and wear.
How Far from the House Should a Ground-Mounted Mini Split Condenser Be?
Most manufacturers allow the back of the unit to be 4–6 inches from the wall, but I often aim for 8–12 inches to improve airflow and easy access for service while keeping line sets short. Check your manual for the exact spec on your model.
Is It Okay to Build a Roof Over a Ground-Mounted Condenser?
A light awning or shade cover is fine if it stays well above the manufacturer's top clearance, often 4 feet or more, and doesn't block air discharge upward. Heavy, tight covers are a bad idea because they trap and send hot exhaust air right back into the intake, which kills efficiency.
Can You Install a Mini Split Yourself if You Only Set the Condenser and Pad?
You can usually handle the pad, mounting and sometimes running pre-charged line sets. But final refrigerant work and startup should be done by an EPA 608-certified HVAC tech for safety, proper operation and warranty protection. That middle ground, where you prep and a pro finishes, makes sense for you and saves money.
Does Ground Placement Change Mini Split Noise?
Ground-mounted condensers tend to send less vibration into the house than wall mounted units, but sound can reflect off nearby walls or fences. Adding a level pad, rubber isolation pads under the feet, and keeping decent clearance from hard surfaces usually keeps noise low enough that you won't notice it from inside the room.