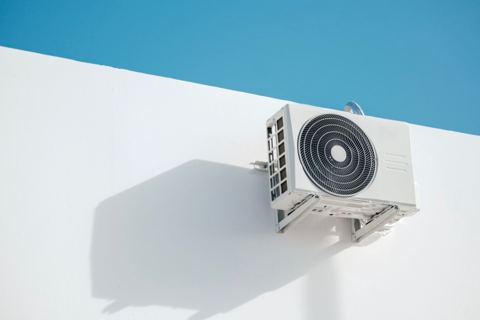
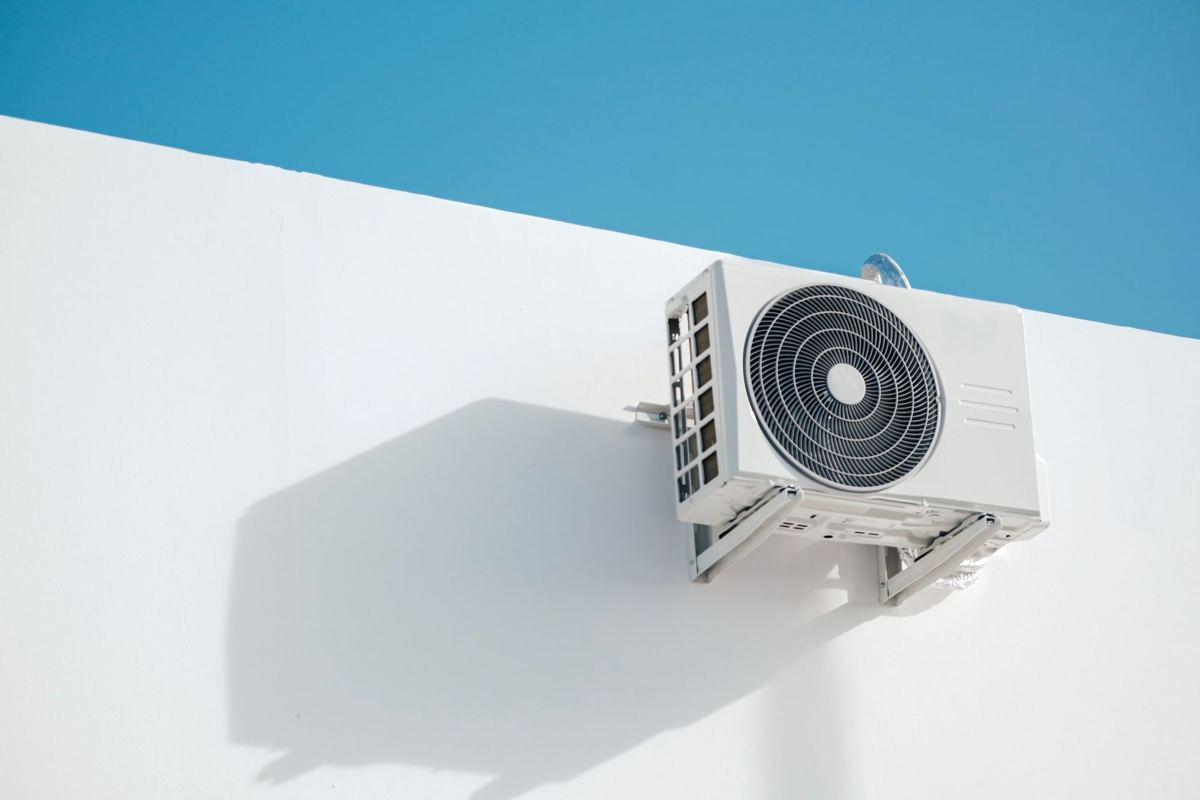
Short answer: yes, it can. A mini split condenser mounts just fine on an exterior wall when you use the right wall brackets, anchor into solid structure, and follow the manufacturer's clearance rules. I get this question a lot from homeowners here in Mesa and across the country, so let me break down exactly when it makes sense, when it doesn't, and how to do it right.
Key Takeaways
- A mini split condenser (the outdoor unit) can be mounted on a wall using properly rated wall brackets, as long as the exterior wall and hardware handle the unit's weight and meet local code.
Mount a Mini Split Condenser on a Wall?
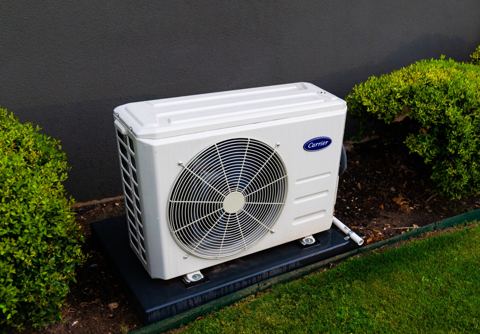
Ground mounting on a pad is still the default approach per the 2024 IRC M1305.1.3.1, which needs ground-mounted equipment to sit level on a slab or approved base at least 3 inches above the surrounding ground. But wall mounting is a common alternative that meets code when you do it right. Proper structural support is critical for wall-mounted mini-split condensers-the outer wall must be more than just siding and sheathing.
Wall Mount vs Ground Mount
- More visible on some fronts. Local codes may restrict wall-mounted units that face the street or the property lines.
Here in Mesa, backyards with rock landscaping and dust storms are a real thing. The NWS describes a dust storm as a wall of dust and debris that may be miles long and several thousand feet high, and it usually passes in a few minutes-but that's enough to coat a low-sitting condenser. Wall-mounted mini splits stay cleaner than units that sit at ground level where PM10 dust and debris blow around. The City of Phoenix defines PM10 as particles 10 micrometers or smaller, most usually dust.
When a Wall-Mounted Mini Split Condenser Makes Sense
From what I see on real jobs, wall mounting works well in certain situations:
-
Tight side yards: In narrow setbacks of 3–5 feet, mounting the outdoor unit halfway up the exterior wall keeps walking space open while you keep the minimum clearances behind and above the condenser.
-
Decks and patios: You don't want a condenser under your feet where you sit.
-
Flood-prone or heavy-rain locations: Wall mounts keep the unit safe from standing water during monsoon season.
-
Dusty lots: Being higher keeps the coil fins a bit cleaner between maintenance visits.
-
Multiple outdoor units: For multi-zone systems, stacking some units on wall brackets above others on pads can save space while you still allow service access to each condenser.
-
Elevating units prevents snow blockage in winter, which improves airflow for the heat pump during heating season.
-
Pets and kids: A wall-mounted outdoor unit is harder to bump, mark or cover with bikes and toys.
Ground Pad or Stand
-
Heavy condensers: Big 4–5 ton multi-zone outdoor units may be too heavy for what standard wall brackets can handle unless you have concrete or brick walls and heavy-duty hardware.
-
Questionable walls: Older wood framing, rotted rim joists, cracked block or thin stucco with metal lath but no solid backing cannot safely support a loaded wall bracket. If the construction is suspect, don't risk it.
-
Bedroom walls: If bedrooms are directly inside the wall where the condenser would hang, compressor noise and vibration can be more noticeable through the interior wall at night. That's a big deal for light sleepers.
-
Budget limits: A plastic or concrete pad on compacted gravel is usually cheaper than quality wall brackets plus anchors, vibration pads and longer line set covers.
-
High wind or earthquake zones: Engineers may prefer ground-mounted condensers on properly anchored stands instead of hanging the unit off the wall.
-
Mini-split stands raise units up to protect them from flooding and snow and are sometimes a better middle ground between a pad and a full wall mount.
Choosing the Right Wall Bracket and Location
-
Check the condenser's nameplate weight. A typical outdoor unit with 18,000 BTU may weigh 80–110 lbs. The mounting bracket should be able to hold more than the condenser's operational weight. MrCool's bracket kit, for example, is rated for 440 lbs and needs the wall to support at least 4× the unit weight.
-
Clearance around the condenser is important for airflow and efficiency. Maintain the clearances the manufacturer specifies: LG's Art Cool manual calls for about 28 inches in front, 12 inches on the sides, and 24 inches above.
Wall Mount Installation Basics
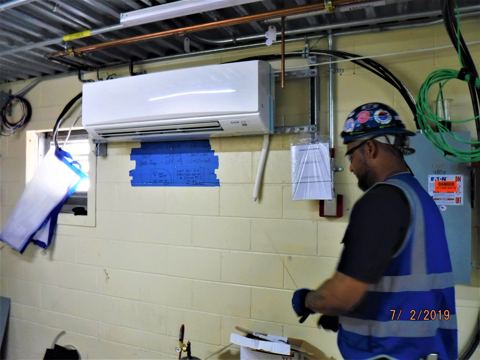
Safety first: You can mount the wall bracket and set the unit if you're the DIY type, but refrigerant and high-voltage work should be done by a licensed HVAC tech.
-
Shut off power at the breaker.
-
Mark bracket height and snap a level line on the exterior wall. Planning ahead here saves headaches.
-
Locate framing or masonry to anchor into. Brackets must be secured into solid concrete, masonry or structural wall studs-not just plywood sheathing or siding.
-
Drill pilot holes, install the wall bracket with appropriate lag bolts or masonry anchors, and verify level.
-
Set the mini split condenser on the bracket arms and bolt it down through the unit's mounting feet.
Leveling is critical. A condenser that is even a bit out of level can cause compressor oil to pool and the unit to run noisy. You will want to use a good level on both the bracket and the top of the outdoor unit.
Rubber or silicone anti-vibration pads are recommended for noise control. Install them between the bracket and the condenser feet to cut down on vibration that would otherwise travel into the exterior wall and interior walls.
After the unit is secured, a pro will pull vacuum on the line set, open service valves and check that the mini split heat pump runs right in both heating and cooling modes.
Line Set, Wiring and Drain Line Considerations
Wall mounting changes how you route the line set, power and drain line compared to a short, straight run down to a pad directly below. Longer line sets make installation more complex and raise labor costs, so keep runs as short and direct as possible.
-
Stay within the manufacturer's maximum line set run and elevation difference so you don't lose capacity.
-
When the outdoor unit is on a wall, the line set and power wiring often need drip loops and UV-resistant line-hide to protect the insulation and keep everything neat on the outside of the house.
-
Condensate drainage needs a consistent downward slope from the indoor unit to the outside. End the gravity drain away from the foundation or into an approved drain point.
-
Long, flat drain runs across attics or interior walls raise the risk of clogs and leaks. Interior installations may need a secondary condensate pump to lift water and discharge it near the outdoor unit.
-
Air sealing is crucial when you penetrate any wall. Use escutcheons or sealed sleeves at every wall penetration to prevent water intrusion and air leaks.
-
High-voltage power and communication wiring between the indoor unit and outdoor unit must meet local electrical code, with a disconnect installed near the mini split condenser.
Noise, Vibration and Your Interior Walls
Even quiet mini splits can seem loud if vibration transfers directly into an exterior wall and through to an interior wall shared with a bedroom. How can you fix it? Compressor units produce vibrations that can transfer into the building structure. Common issues include:
How to reduce it:
-
Vibration isolation pads help prevent noise transmission from the condenser indoors. Use them at every bolted connection.
-
Avoid wall mounting directly under or next to bedroom windows or on a shared wall behind a quiet room.
-
Check and re-tighten mounting bolts and bracket hardware every 6–12 months, as vibration can slowly loosen fasteners and increase noise over time.
If noise is a primary concern for you, a properly installed ground pad or stand set a few feet away from sleeping areas may be the better choice than a wall bracket attached right outside your head.
FAQ
How high off the ground should a wall-mounted mini split condenser be?
Most wall brackets place the unit about 12–24 inches above grade-high enough to clear splashing water and yard debris but low enough for safe service access. In climates with deeper snow, installers may set the outdoor unit 3–4 feet up to stay above typical snow lines. In hot, dry climates like Mesa, 12–18 inches is usually fine. Installation height should take into account local snow lines and drainage requirements. Frequent access for maintenance should be a factor in picking the installation height too-don't mount it so high you need a tall ladder every time you rinse the coil.
Can You DIY a Wall-Mounted Mini Split?
You can often install the wall brackets, set the outdoor unit and run the line set and drain line if you're a skilled DIYer, especially with DIY-focused systems that include pre-charged line sets. But pulling vacuum, handling refrigerant and making final high-voltage connections are usually licensed work and can be dangerous if done wrong. I recommend at least having a local HVAC tech commission the system even if you handle the physical mounting yourself.