Mini split distance from ceiling matters more than you might realize when you mount a wall-mounted mini split indoor unit. The gap between the ceiling and the top of the unit affects how the air flows, how much energy the unit uses, and how loud it gets, and getting it wrong can turn a quiet, efficient system into a headache. This is what I've learned from installing and troubleshooting these units in Mesa, Arizona.
Key Takeaways
-
Most wall-mounted mini split indoor units have about 6 inches of ceiling clearance so the air can distribute properly and the unit can run efficiently. Three inches is usually the tight-but-acceptable minimum if the manufacturer lets you do it.
-
Always confirm the exact clearance in your installation manual. Some Mitsubishi mini split models call for about 3 1/8 inches at minimum, while MrCool units usually need about 6 inches.
-
Squeezing an indoor unit to 1 inch from the ceiling blocks the air intake, makes the fan noisier, causes moisture problems and can shorten how close the equipment is.
-
You can handle putting up the mounting brackets, running the line set and picking the wall location. Any refrigerant work between the indoor unit and the mini split outdoor unit must be done by an EPA-certified tech.
How Much Clearance From the Ceiling Does a Mini Split Need?
The short answer is to maintain at least 6 inches of clearance above the unit. That is the number I start with on every install, and it is what the majority of wall-mount manuals call for. I personally won't go under whatever the manufacturer's minimum distance states in the manual.
In most manuals, the ranges you see usually fall between 3 and 8 inches. Some mini split models may need 8 inches or more depending on the brand and BTU size. These numbers are always about the gap between the ceiling and the top of the indoor unit, not the distance from the floor.
Brands differ. A MrCool DIY 18K BTU indoor head calls out 15 cm (about 5.9 inches) of ceiling clearance. A Mitsubishi MSZ-FH series wall unit can go as low as about 2 3/16 inches with certain piping arrangements. Carrier recommends at least 6 inches above the unit and mounting indoor units about 6 feet from the floor.
More than the bare minimum usually means quieter operation, better air distribution across the room, and less chance of coil frost or sweating issues. If room limits only allow about 3 inches, it can still work if the model's install manual permits it and airflow tests look good. But 1 inch should be avoided whenever possible.
Why Mini Split Distance From Ceiling Matters
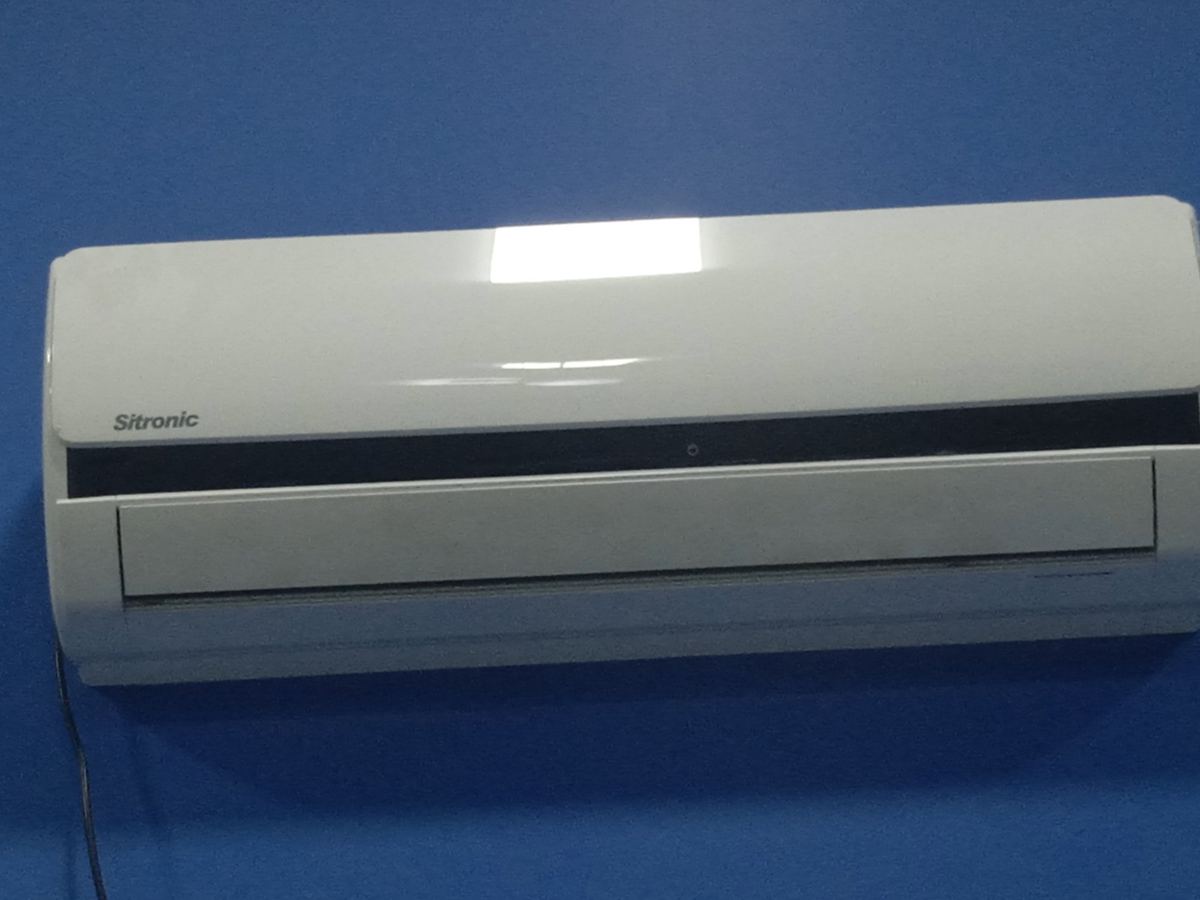
Wall-mounted units are pulling air in through top intake vents and sending conditioned air out through the vents at the bottom front. That top intake is the lungs of the system. If the ceiling is too close, those lungs can't breathe.
When ceiling clearance is too tight, the air intake gets restricted. The fan has to push harder against higher static pressure, so noise goes up. The throw across the room gets worse because air "hugs" the ceiling instead of mixing into the occupied space. The result is cold spots near the unit, warm spots across the room, and uneven temperature throughout the house.
Mini split units that are installed too close to ceilings can block airflow at the evaporator coil. With less air passing the coil, it runs colder, pulls more moisture from the air than intended, and sends colder refrigerant back toward the compressor. That extra condensate can flood the drain pan or cause dripping. Insufficient clearance limits airflow and reduces efficiency. The system may still produce its rated BTUs, but the room feels uneven and the unit runs longer.
I've seen this play out in Mesa during hard runs. Phoenix hit 110 level or hotter for 31 straight days from June 30 to July 30, 2023, the longest run on record. Any hit to airflow or efficiency during that kind of heat shows up fast as hot rooms and high SRP bills.
Manufacturer Rules vs. Real-World Installs
For your specific indoor unit, the installation manual is the final word on clearances. Even if you've seen tighter installs on YouTube or in a neighbor's garage, the manual is what the warranty covers.
For some mini split models, the minimum clearance is 3 1/8 inches. For example, the Mitsubishi MSZ-FH series calls for about 2 3/16 to 2 5/8 inches minimum to the ceiling depending on piping configuration. Installing one at 2 inches is technically breaking spec, even if the unit appears to run fine at first. Manufacturer installation manuals often outline specific requirements for clearance, and those numbers exist because the engineering team tested for airflow, noise and condensate drainage at those dimensions.
DIY-friendly systems like Mr Cool list their own clearance numbers in every manual and installation guide. Ignoring them can cause warranty issues if something fails later. Pros sometimes make judgment calls in tight remodels, but you should not plan a new installation that breaks the minimum clearance on purpose.
Before you cut a hole or run a line set, hold the indoor unit template on the wall, measure the ceiling distance and compare it to the manual's drawing. Five minutes with a tape measure saves you from getting stuck.
What I've Seen Testing Clearances (Airflow Experiments)
I've done a simple airflow test that you can copy. Hang lightweight streamers from the flaps of a running indoor unit, then lower a piece of plywood above it to mimic different ceiling gaps. It's rough, but the difference in air circulation is obvious.
At about 6 inches from the "ceiling," the streamers are blowing straight out with strong, consistent airflow. There's basically no change from having nothing above the unit at all.
Around 3 inches, streamers still blow outward but start dipping and fluttering more. You can see the beginning of restricted intake. There is some recirculation near the top of the unit. The fan tone stays about the same, but the airflow reaching the far wall drops a bit.
At about 1.5 inches, airflow is clearly reduced. Streamers hang down more. Turbulence increases near the intake. It's still usable, but I wouldn't choose this gap for a brand-new install.
At 1 inch, there's a noticeable drop in airflow. Streamers hang down rather than blowing out. The fan noise changes tone. You can hear the blower working harder. Less than 3 inches above the unit can restrict airflow to the point I draw the line and tell people not to plan on a 1-inch gap.
Best Height and Wall Placement for Mini Split Indoor Units
Indoor units should be mounted 6 to 8 feet above the floor. In a standard 8-foot ceiling room, the bottom of the indoor unit should be at least 7 feet above the floor, leaving enough room at the top for the needed ceiling clearance. Carrier recommends mounting indoor units about 6 feet from the floor as a minimum. Lennox manuals show 72 inches (6 feet) as a minimum height and recommend going higher where the room lets you.
Clearance on All Sides of the Indoor Unit (Not Just the Ceiling)
Typical side and bottom clearances most manuals call for:
| Clearance Location | Typical Minimum | Notes |
|---|---|---|
| Above (ceiling) | 6 inches (15 cm) | Some models allow less; check manual |
| Each side | 4-6 inches (10-15 cm) | More on the piping/service side |
| Front (discharge) | 20+ inches (50+ cm) | Unobstructed throw path |
| Below (to furniture/floor) | 7-8 feet from floor to bottom | Keep tall items clear |
Side clearances of at least 6 inches are recommended for airflow and maintenance. Keep the area around the unit clear of obstructions; tall furniture, wardrobes, or bookcases directly under the unit trap conditioned air against the wall and block air circulation.
Heat Sources, Sunlight and Room Layout
In homes on SRP's Conserve 6-9 p.m. and Save plan (E-28), on-peak electricity costs 39.82 cents per kWh in July and August while super off-peak runs just 6.23 cents. Good placement and insulation can help the mini split hold temperature through those expensive on-peak windows with less runtime. That difference in rate alone makes proper clearance and location worth getting right the first time.
Limited Headroom, Soffits and Sloped Ceilings
Not every room has a flat 8-foot ceiling and a clean wall. Here's what to do with certain areas that make mounting harder.
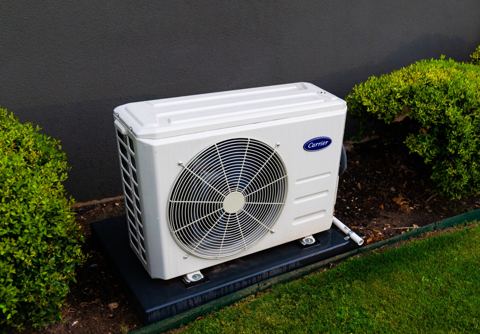
Mini Split Outdoor Unit Placement and Clearances (Quick Overview)
Basic guidelines for your mini split outdoor unit:
-
Mount on a solid, level surface or wall brackets rated for the unit's weight
-
You'll want to keep 1 to 3 feet of space around the unit for proper ventilation and airflow
-
Do not let shrubs, fences or walls crowd the discharge side where the fan pushes hot air out
-
For the compressor to get rid of heat, it needs clear airflow. Blocking it forces the system to work harder
Avoid outdoor locations with constant direct sunlight, heavy dust or areas that flood. Partial shade from a roof overhang and good ground drainage are ideal.
DIY vs Pro: What You Can Safely Do
Licensed tech required:
Messing up the refrigerant side can destroy the compressor and void the warranty. That's not a "maybe." It is how the system works.
If you're in Arizona, planning rough-in work during the cooler super off-peak hours (8 a.m. to 3 p.m. under SRP's E-28 and E-16 plans) keeps you safer and keeps you from running power tools during the door-to-door peak rate window.
Common Mistakes With Mini Split Ceiling Distance and Placement
-
1-inch ceiling gap because "the picture showed it." The cover photo on the box or a stock image is not the install manual. One inch of clearance leads to weak airflow and constant noise complaints.
-
Mounting over a door. Placing the indoor unit over a doorway or in a high-traffic entry means conditioned air leaks out every time the door opens. The unit short-cycles, and the room never holds a constant temperature.
-
Mounting above big electronics or near recessed ceiling lights. TVs, gaming rigs and recessed lights are heat sources that trick the temperature sensor into thinking the room is hotter or colder than it really is. The system changes its output based on bad data.
-
No service space. If you can't get a ladder under the unit or open the front cover without hitting a shelf, basic maintenance like filter cleaning becomes a paid service call. There is enough clearance to make it easier to get to the air filters for cleaning. Don't box yourself out of it.
Mini Split Distance From Ceiling FAQ
Is 3 inches from the ceiling enough clearance for my mini split indoor unit?
Three inches can be enough if the manufacturer clearly lets you do it. Many units list a minimum around 3 to 4 inches, but performance is usually better at 5 to 6 inches. Look for the "installation clearances" diagram in your exact model's manual. Don't copy someone else's Mitsubishi mini split or Mr Cool numbers onto a different brand. By model and by how the piping runs, the minimum distance varies.
Can I angle the indoor unit or louvers to fix poor ceiling clearance?
The indoor unit itself must be mounted level so condensate drains correctly. Tilting the whole unit to gain ceiling clearance is a bad idea and leads to water leaks from the drain pan. You can and should use the adjustable louvers and vane settings to improve air distribution across the room, but louver adjustments can't fully make up for a unit that's mounted too tight to the ceiling and is blowing directly into a restricted space.
Should I move my mini split if it doesn't meet the manual's ceiling clearance?
First, you'll want to measure carefully and compare to the manual. If you are off by a small amount and the system runs quietly with even temperature across the room, discuss the risk with a local HVAC pro. If the unit is clearly under the minimum (like 1 inch where 3 1/8 inches is needed) and showing signs of poor air distribution or noise, moving it to meet proper clearances is usually the safest long-term fix. The cost of moving the unit now is almost always less than years of higher energy bills and early equipment failure.