What to Know First
-
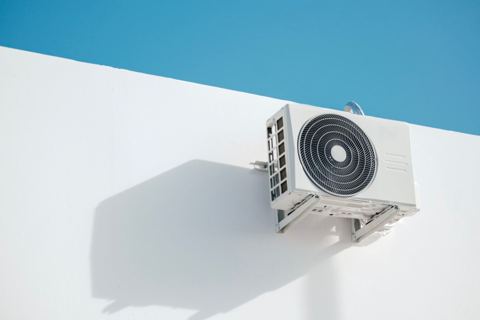
Yes, you can put a mini split outdoor unit under a deck, but only if you meet the strict requirements for clearance, air flow and access that come from the manufacturer and from local code.
-
Rule-of-thumb room: there's at least 4 feet of open space above the unit and 12 to 24 inches of free space on all sides, unless the specific install manual says otherwise.
-
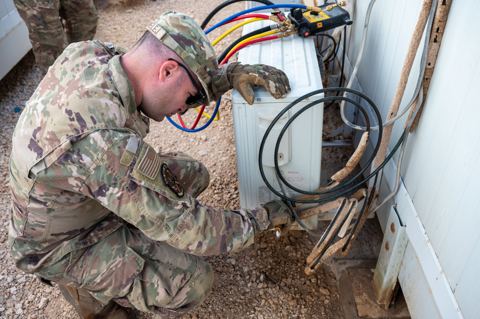
Any work on refrigerant lines has to be done by a licensed HVAC professional. You can get the location ready, build a stand and run electrical under local rules.
Why People Want a Mini Split Under a Deck
I get this question a lot: "Can I hide my mini split condenser under my back deck?" The reasons are always the same. The unit is ugly. The HOA sent a letter. The yard is too small. Or the homeowner is hoping to keep the noise away from the patio. I understand the appeal, but putting a condenser under a deck is one of those ideas that works only when you plan for it and fails when you don't.
When Is It OK to Put a Mini Split Under a Deck?
Here's the short answer: yes, if you can give it enough air and access. No, if your deck is low, closed in or constantly wet. A well-ventilated under-deck space can allow for effective operation of a mini split unit, but you need all of these conditions at once:
-
There is at least 4 feet of clear open height from the top of the unit to the bottom of the deck joists.
-
Open sides on at least two adjacent sides might allow for cross ventilation.
-
A solid, level mount (pad, stand or wall brackets) that sits above the level of water or snow you'd expect to see there.
-
Room to reach service panels and refrigerant lines without ripping the deck apart.
Good example: A 6 ft high deck with open screen on three sides. The unit sits on a metal stand that is raised 12 inches above a gravel bed. The fan discharge faces the open yard with 36+ inches of clearance. A technician can walk up and open the access panel without having to crawl.
Bad example: A 30-inch-high deck with solid walls on the sides and one small vent opening. The unit is stuck between a house wall and stair framing. There's no room to swing a wrench, let alone pull a fan motor.
The final word comes from the manufacturer's install manual and local code. Under the 2024 International Residential Code, any A2L refrigerant mini split (like R-454B) has additional tag requirements and sometimes tighter clearance specs. An improper installation can void the warranty from many manufacturers, so check the manual before you commit.
Clearance and Airflow Requirements Under a Deck
Most mini split brands have strict clearance guidelines for how you install the unit. Here are typical numbers from real manuals:
| Surface | Typical Minimum Clearance | Notes |
|---|---|---|
| Top (to deck joists or overhang) | 24-48 in; some models require 4-6 feet | GREE calls for 2 feet minimum above; many models need more |
| Front (fan discharge) | 24-60 in | This side needs the most space. Some LG models require 40 in. |
| Sides | 12-24 in | Lennox specs show 12 in on sides for their single-zone heat pumps |
| Rear (air inlet) | 4-12 in | Can be tighter if bracket-mounted, but check your model |
| Bottom (above ground) | 4-6 in minimum | More in flood or snow zones |
Condensers need a minimum of 12 to 24 inches of clearance on the sides and 4 to 6 feet above for proper airflow, depending on the model. A minimum clearance of 4 inches is required above the unit at the absolute lowest end, but I've never seen a deck install where that little overhead space actually worked.
Picture it this way: if the deck acts like a lid, hot exhaust rises up, hits the deck boards and rolls right back down into the intake of the condenser. In cooling mode during summer, that means the unit is trying to get rid of heat into air that's already 10-15 level hotter than the ambient air around it. LG's install manual for the KSUDA series shows a capacity loss of about 10% when the unit is installed under an overhang that's too close. Lattice or strips with big gaps work far better than solid boards because hot air can escape upward through the gaps.
Height, Deck Style and Climate Considerations
A deck that is 2 ft above the ground in Phoenix is a totally different story than a deck that is 6 ft high in Minnesota with snow piles that reach 60 inches. Your climate zone and deck design together determine whether this install makes sense or not.
-
Less than 36 inches between ground and joists: don't do it. There is not enough room for the unit plus clearance plus a human body for service.
-
4 to 6 feet: usually works if two or more sides are open and the unit isn't closed in between posts, beams and walls.
-
Solid closed skirting is going to trap heat and moisture. If your deck has skirting, you need large louvered openings on at least two sides.
-
Multi-level decks can create pockets of dead air around the outdoor unit, even if the main deck is high enough.
-
Cold and snowy areas: under-deck installations can cause performance issues in winter due to snow buildup and drainage problems. Snow-melt water from the deck above can drip onto the unit and freeze again. You need elevation above the snow line and a clear drain path for defrost water.
-
Hot climates like Mesa: I've measured air temps under low decks that were pushing 120°F on a 105°F day because radiant heat from the deck boards and trapped exhaust had nowhere to go. The unit lost capacity, head pressure shot up and the compressor shut off. During a heat wave, that's going to mean no cooling when you need it most.
-
Humid regions: lack of sun and ventilation under a deck keeps the condenser sitting in a damp, rusty pocket of air year-round.
Mounting a Mini Split Under a Deck
Condenser pad (concrete pad or composite pad): Condenser pads give you a stable surface for outdoor units. Set the pad on packed gravel so water can drain. This is the simplest option where the deck is high and the ground drains well. In my experience, a concrete pad works best on lots that are flat and dry.
Mini split stand: Metal frames that lift the unit 12 to 24 inches above the pad. Stands are preferred in areas that get snow or flooding. They also give extra air flow underneath the condenser, which helps in any climate. Use rubber vibration pads between the stand and the unit.
Wall mount (wall brackets): Wall brackets save ground space by mounting units on walls, usually a foundation wall or a structural post. Where does this work best? These are ideal where the grade drops away under the deck or where the floor of the deck is too low for a ground setup. Use corrosion-resistant fasteners and make sure the wall or post can handle the weight.
Mounting options must meet manufacturer's specifications. The mount must accommodate the size of the condenser, and the mount must support the weight of the condenser. Compatibility ensures a secure installation of the unit. If your model is 120 lbs and the bracket is rated for 80, you have a problem.
Drainage, Moisture and Corrosion Issues
-
Condensate pooling under a deck can cause rot and structural damage to the wood framing, the stands and the base pan of the unit.
-
Mud splashing up into the coil reduces heat transfer and clogs fins.
-
In freezing climates, ice forms around the base during defrost cycles when drain water has no escape path.
-
Slope soil away from the unit. Use gravel, pavers or a condenser pad so that mud stays away from the coil.
-
Run condensate drain lines to daylight or a gravel sump. Don't let water just dump right under the outdoor unit.
-
Keep the bottom of the unit several inches above the highest known water level under the deck. Stay away from placing the condenser in areas that flood or get deep snow.
-
In coastal or de-icing salt environments, corrosion speeds up fast in a damp under-deck pocket. Inspect the cabinet and base pan at least twice a year.
Noise, Vibration and Living Space Comfort
-
Structure-borne vibration sends noise into deck joists if brackets or stands are fastened to framing without isolation pads. You're going to hear a low hum through the floor above.
-
Compressor start-up noise is noticeable during quiet nights if the unit is directly under the seating area.
-
Use vibration-isolating rubber pads on stands or wall brackets.
-
Avoid mounting to a lightweight deck rim board. Prefer a concrete foundation wall or a solid post attached to a proper base.
-
Keep the outdoor unit away from bedroom windows or directly under the main seating area when possible. Sound travels in every direction, so think about where people sleep and relax.
Modern inverter mini splits in the 18,000-36,000 BTU range usually produce 48-55 dB at the outdoor unit. That's about the sound level of a quiet conversation. But poor mounting can boost what little noise they make into something you hear every time the compressor speeds up.
Code, Safety and Utility Considerations
Even under a deck, the outdoor unit has to meet electrical code, mechanical code and manufacturer safety rules. Installing a unit in an enclosed space can break local building codes, so don't assume an under-deck location is automatically fine.
-
Under the 2024 IRC, an A2L refrigerant system (such as R-454B) must carry a label with the installing company's contact information and the refrigerant charge. Charge is limited to 34.5 lb per system.
-
Some areas limit how close outdoor units with certain refrigerants can be to windows, doors, crawl space vents or confined spaces.
-
NEC generally requires a service disconnect within sight of the mini split outdoor unit. You must be able to physically reach it under the deck.
-
Conduit runs under the deck must be protected from damage and properly supported.
Utility and permits:
-
APS won't disconnect residential service for not paying from June 1 through October 15, but that doesn't protect you from a system that trips out on high-pressure faults from poor air flow under a deck during summer.
-
Efficiency rebate programs often require proof that the installation follows the manual and code, including clearances. A non-compliant install can disqualify you.
-
Building permits are required for new circuits and new HVAC equipment. Arizona's handyman exemption (ARS 32-1121(A)(14)) doesn't apply when a permit is needed or when the total job exceeds $1,000 in labor and materials.
DIY vs Pro Work You Can Safely Do
Refrigerant work (opening the system, changing factory charge, brazing refrigerant lines) is a licensed HVAC job. You should not vent or recharge refrigerant. Period.
-
Planning the under-deck location and checking room clearances against the install manual. Open Tab A of the clearance diagram and compare your measurements.
-
Preparing the ground, pouring or setting a pad, building or putting together a mini split stand.
-
Can you run low-voltage control cable and line-voltage conduit to a disconnect? You can, if your local area lets you do homeowner electrical work with a permit.
-
Installing protective covers or channels for refrigerant linesets without cutting into the sealed system.
-
Sizing the mini split unit and checking that the under-deck location meets code. HVAC technicians need open access for maintenance tasks, so a pro will flag access problems you might miss.
-
Pressure testing, evacuating and opening the refrigerant circuit.
-
Final startup, performance check and filling out A2L system tags where needed.
In Mesa and other Arizona cities, inspections will fail an installation if the outdoor unit isn't accessible or room clearances don't match the manual. Plan with the inspector in mind.
Layout Tips for Under-Deck Mini Split Installs
-
Where should you place the outdoor unit? Near the edge of the deck where at least two sides are open to the yard. Don't bury it in the center.
-
Avoid corners where the deck, house wall and a privacy fence form a U-shaped pocket. Hot air pools there.
-
Keep the line set length as short and direct as the manufacturer lets. Shorter runs mean less refrigerant loss and a simpler install. Every model lists a maximum in the manual, often in the 50-100 ft range.
-
If kids or pets go under the deck, add a simple guard or rail around the condenser while keeping air flow open on all sides.
-
Use UV-resistant line covers for refrigerant lines running from the unit up into the house siding.
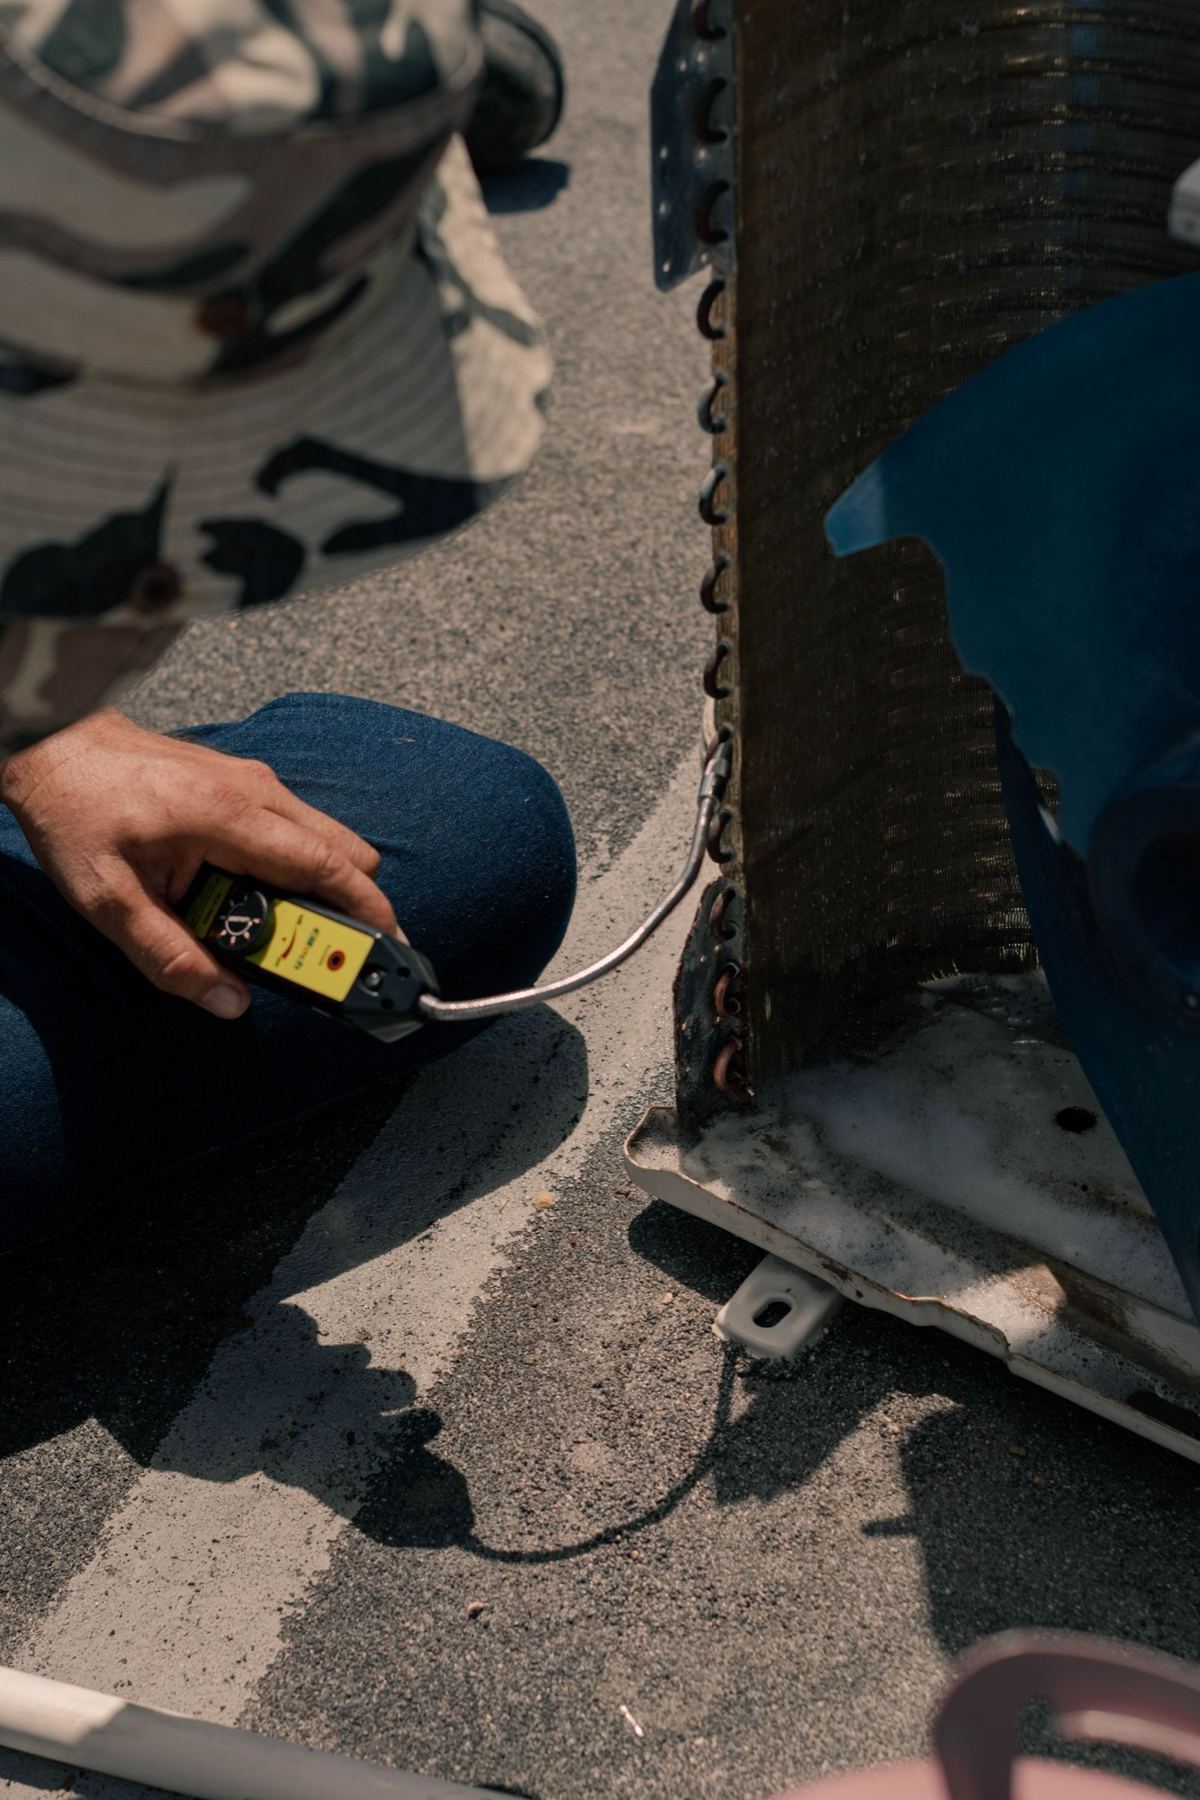
Dust reality: Under a deck, dust and PM10-sized particles (what the City of Phoenix defines as "most usually dust") spin and collect on coils. Mini split condensers trap dirt and debris, clogging the coils faster than units in open air. Be honest about how often you're willing to crawl under there to clean.
Maintenance and Troubleshooting Under a Deck
-
Leave clear working space in front of access panels (usually the side with the electrical and refrigerant connections).
-
Avoid screen or framing that forces a tech to remove half the deck wall just to pull a fan motor.
-
Make sure a work light can reach the unit. Basement-level darkness under a deck is no place to diagnose a wiring issue.
-
Unit short-cycling or shutting down on high-pressure faults during summer (often trapped hot air pushing discharge temps too high).
-
Visible frost or thick ice buildup around the base in winter (poor drainage and defrost water freezing again).
-
Excessive dust buildup on the coil. Cooling capacity drops and the system runs longer without reaching setpoint.
Shut off power at the disconnect before any cleaning or inspection. Call a professional if you see error codes or repeated trips.
Alternatives If Under-Deck Installation Won't Work
-
Side yard: Set the unit on a pad or stand with a small, well-vented fence or screen. This keeps the condenser in open air while hiding it from the street.
-
Wall-mounted brackets higher on the house wall: Above snow level and away from foot traffic. Works well on an old house where the foundation is too low for ground mounting.
-
Around the corner: Relocating the mini split outdoor unit around the corner of the house keeps the condenser in the open while cutting the run under the deck.
FAQ About Mini Split Condensers Under a Deck
Can I completely close in the area under my deck if the mini split is there?
Fully enclosing the space is almost always a bad idea. It turns the area into a hot (or cold) mechanical room without proper ventilation. If enclosure is required for aesthetics or HOA rules, you need large opposing vents or louvered panels sized per the manufacturer or local mechanical code. Restricted air flow can void warranties and cause repeated shutdowns. I've assumed homeowners understand this, but I still see it ignored.
How far can the refrigerant lines run from the outdoor unit under the deck to the indoor head?
Each mini split model lists a maximum line set length and elevation difference, often 50 to 100 feet total with a 25 to 50 foot elevation limit. Longer runs can need additional refrigerant within the manufacturer's per-foot guidelines and must stay under the 34.5 lb system cap for A2L refrigerants under the 2024 IRC. Have a licensed tech calculate any additional charge. Keep runs as short and simple as possible.
Will putting the outdoor unit under a deck make it louder inside my house?
The compressor noise itself doesn't increase because it's under a deck, but vibration can couple into framing if mounted poorly. A wall mount on a masonry foundation or a stand with rubber isolation pads prevents this. Don't fasten the unit to light wood framing. And don't tuck it directly under a bedroom that sticks out if you can avoid it. You'll hear every compressor cycle at night.
Do You Need a Permit for a Mini Split Under Your Deck?
Most jurisdictions require a permit for new HVAC equipment and new electrical circuits, regardless of location. In Arizona, the handyman exemption under ARS 32-1121(A)(14) doesn't apply when a building permit is needed or when total job cost exceeds $1,000. Check with your local building department and utility rebate program before starting work so you don't have to redo a non-compliant installation. Be aware that inspectors will verify clearances match the manual.
How often should I service a mini split outdoor unit that's under a deck?
At minimum, clean the coil and inspect the unit once a year. In dusty climates like Mesa, where PM10 dust builds up fast under covered decks, twice a year makes more sense. Do a quick visual check each season for leaves, spider webs and debris blocking the coil or fan, and look for standing water or mud around the base. Shut off power before cleaning, and schedule a professional if performance drops or error codes appear.