I get this question a lot from homeowners staring at a room with no good exterior wall: can you install a mini split on an interior wall? The short answer is yes, but the install gets more complex. Here's what you need to know before you commit.
Key Takeaways
-
Yes, you can install a mini split indoor unit on an interior wall, but getting the line set, condensate drain and wiring to the outdoor unit needs more planning than a standard exterior wall install.
-
An exterior wall is usually preferred because it gives a short, direct path to the outside for the line set and a condensate drain that works by gravity. Interior walls often need longer runs, a condensate pump and more work to finish things up after.
-
You have to stay within the limits that your manufacturer sets for how long the line set can be and how far it can rise vertically. For smaller units, many residential units have a max of about 50 to 82 feet of total line, so check your install manual.
-
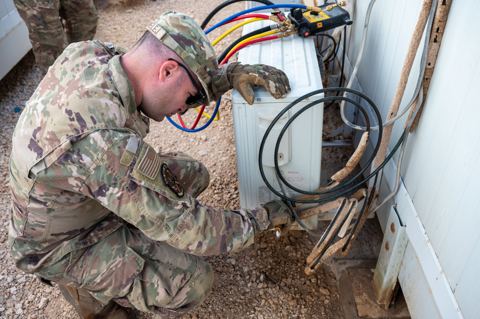
Refrigerant work (pulling vacuum, charging, leak testing) and final start-up has to be done by a licensed pro. Electrical work must meet local code.
-
From my Mesa, Arizona perspective, putting a mini split on an interior wall can keep the lines out of harsh sun and dust, but the outdoor unit still needs enough airflow clearance and regular cleaning of the coils.
Can You Install a Mini Split on an Interior Wall?
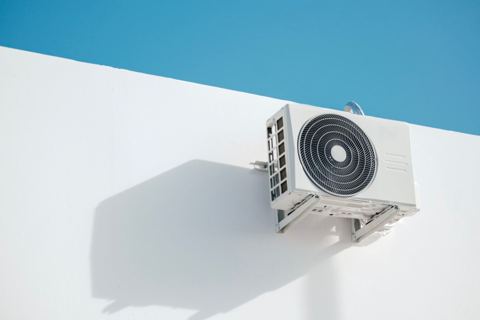
A mini split indoor unit does not have to go on an exterior wall. It can go on an interior wall as long as you can create a viable path for the line set, power and condensate drain to reach the mini split outdoor unit on an exterior wall.
On a typical exterior wall install, you drill a 3 to 3.5 inch hole straight through, run a short line set to the outdoor unit sitting a few feet away, and let the condensate drain by gravity down the wall. Simple. On an interior wall, those refrigerant lines, the control cable and the drain line all have to travel through ceilings, attics, basements, closets or some combination before they exit the house.
That said, interior wall installs increase cost and complexity. They almost always require a site visit from a pro to confirm line set length limits, structural clearances and code requirements before anyone picks up a drill.
Why Exterior Walls Are Usually Preferred
Here's what an exterior wall has for you:
-
With an exterior wall, you get a direct path for the line set to the outdoor unit, and the total length is often under 15 feet
-
Gravity condensate drainage through a simple vinyl drain tube that slopes outside
-
Fewer fittings and joints, which means fewer places where a leak could happen inside finished spaces
-
Less time with drywall open. Usually just a core hole and a short line cover on the siding
Fewer fittings and shorter refrigerant lines also mean the system performs better. Routing refrigerant lines on interior walls involves longer distances compared to exterior walls, and every extra foot of line set adds pressure drop and needs more refrigerant charge beyond what the factory pre-fills. That is higher material cost and a small hit to efficiency over the life of the unit.
When Interior Walls Make Sense
I choose interior walls when they solve a real comfort or layout problem. Here are the scenarios where it makes sense:
-
Interior bedrooms or nurseries with no good exterior wall for mounting
-
Home theaters where you want the indoor unit away from the screen and projector wall
-
Large great rooms where an interior wall gives better air circulation across the full space than a far exterior wall
-
Finished basements where the easiest path is down through interior walls into a utility area
Indoor Unit Styles for Interior Walls
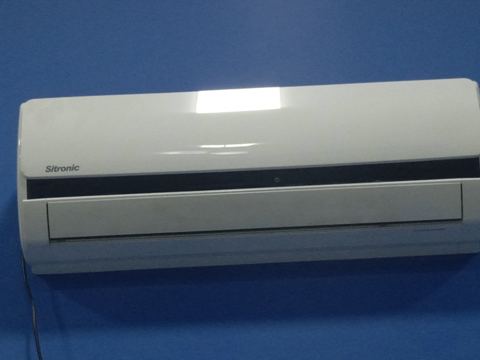
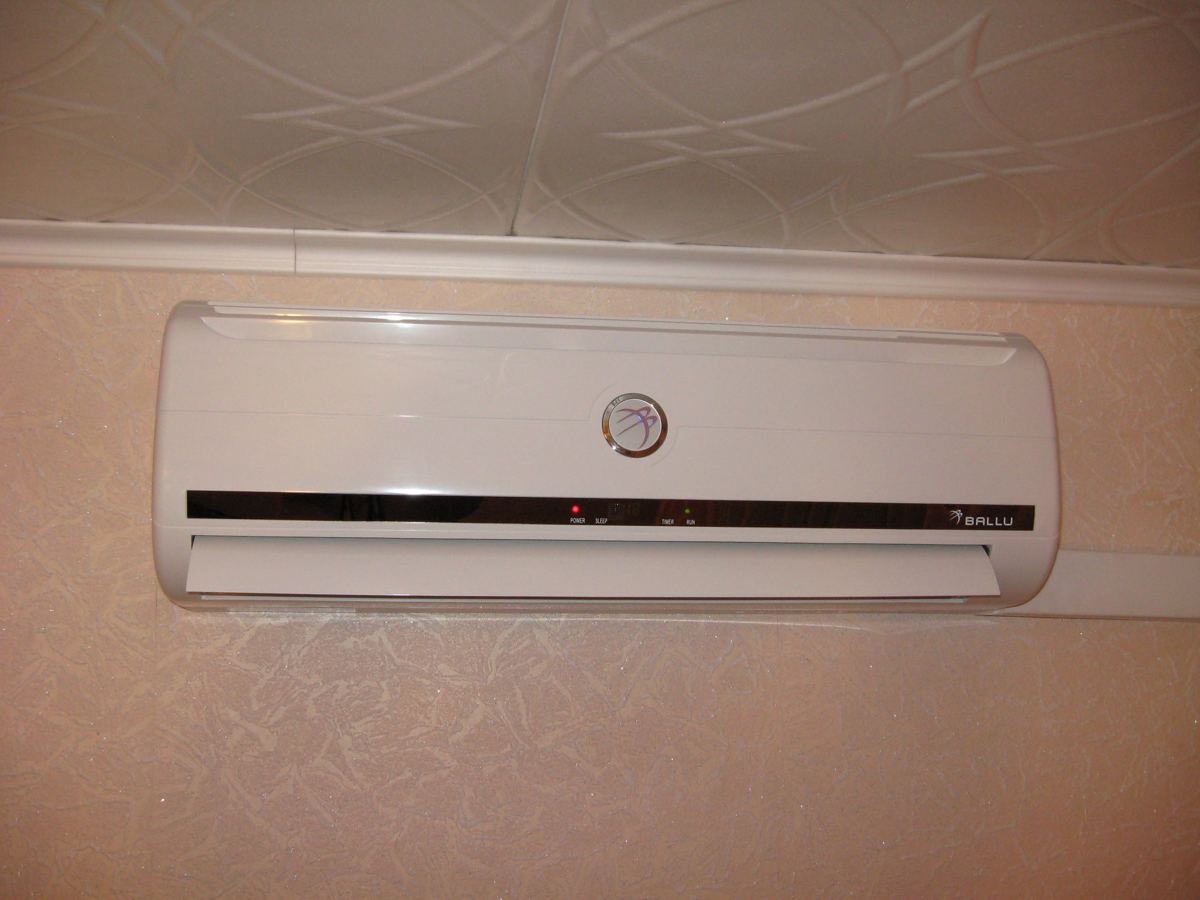
Wall-mounted units are the most common choice. Indoor units should be mounted 6 to 8 feet above the floor on the interior wall, with a chase running down into a basement or up into an attic to reach the outdoor location on an exterior wall.
Ceiling cassette units work well in interior rooms with no good wall space. A ceiling cassette distributes air from above without needing an exterior wall for mounting. The line set routes horizontally through joist space. These require adequate space in the ceiling cavity and structural support for the weight of the unit.
Compact ducted mini splits use concealed air handlers for minimal visible equipment. A small air handler hides in an attic, crawlspace or closet with short duct runs to one room or two to three rooms nearby. This is the best option when you want a "no wall head" look and don't want to replace a full duct system.
Floor-mounted units sit low on the wall and are suitable where upper wall space is unavailable due to windows, cabinets or sloped ceilings. Routing down through the floor into a crawlspace or basement can be easier than going up into an attic.
Clearance, Air Distribution and Heat Sources
Here are the numbers to follow:
| Clearance | Minimum Distance |
|---|---|
| Above unit to ceiling | 6 to 8 inches (Lennox specifies at least 6 inches) |
| Sides | 4 to 6 inches |
| Front (air throw) | Several feet of open space |
Aim the indoor unit so conditioned air can wash across the long dimension of the room instead of blasting directly at a couch or bed. On an interior wall in a great room, this often means centering the head on the wall that faces the largest open area.
Avoid placing mini splits near heat sources like stoves, radiators, fireplaces or large piles of electronics. Mini-split temperature sensors are usually located inside the top of the indoor air handler. If afternoon sun through a skylight heats the sensor, the unit will cool too much. If a range below pumps heat into it, the sensor reads high and the compressor runs harder than it should.
In Arizona homes with 10 to 12 foot ceilings and high windows above doors, you'll want to keep the indoor unit around 7 feet off the floor. Don't cram it into a ceiling corner where hot air pools and the sensor reads temperatures that are too high.
Planning the Line Set Route from an Interior Wall
The line set is the connection between the indoor unit and the outdoor unit: two insulated copper refrigerant lines, a control cable and often the condensate drain all together. Work on an interior wall is mostly about finding a smart path for this group to reach an exterior wall.
Typical routing patterns:
Each mini split has a maximum allowable line set length and vertical lift limit. For smaller 9,000 to 12,000 BTU units, that's typically 50 to 82 feet of total line and around 30 to 33 feet of vertical separation. Larger 18,000 BTU units can reach 98 feet of total line set. Check your specific install manual; exceeding these limits voids the warranty and kills compressor life.
Routing lines through an interior wall can be challenging. Keep the line set as straight and short as possible. Minimize tight 90-degree bends, avoid trapping oil in low spots on long vertical runs, and keep any joints or unions in accessible places rather than buried inside finished walls. Proper insulation is necessary to prevent condensation on refrigerant lines; code requires suction line insulation of at least R-4 with low permeance.
Condensate Drainage from an Interior-Wall Mini Split
Every cooling mini split pulls moisture out of indoor air, and that water has to go somewhere safe. Condensate drainage is crucial for interior installations. Messing it up is how you end up with water damage, wet drywall or mold inside interior walls.
Gravity drain is always the best option. Route a continuous, downward-sloping drain line from the indoor unit to an approved termination point: outside on grade (away from the foundation), or into a proper plumbing drain with an air gap where code allows. Condensate drainage must slope downward for proper function. Most manufacturers specify at least 1/4 inch per foot of slope.
A condensate pump may be needed for interior installations when gravity won't work. These pumps sit inside or beside the indoor unit, collect water in a small reservoir, and pump it up and over to a drain. A condensate pump can introduce noise and requires electrical power. It should have a safety overflow switch wired to shut off the system if the pump fails. Some factory pumps offer about 27 inches of lift. Check your unit's spec.
Plan pump access carefully. Don't bury the pump in a sealed soffit. Leave an access panel so a tech can replace the pump, clean the reservoir and inspect the discharge line. Route the pump's discharge where a leak won't quietly soak framing for months. A sump pump handles bulk water in basements. A condensate pump handles the trickle from your mini split. Different tools for different jobs.
Cost, Complexity and DIY vs. Pro Work
Main extra costs for interior wall installs:
-
Longer line set and control wiring
-
More time running lines through interior walls or building soffits
-
A condensate pump if drainage by gravity isn't possible
-
Drywall repair and paint. Routing lines through walls can lead to a lot of cutting and repair work on drywall
-
Electrician time for a new circuit or subpanel electrical work
Access for maintenance and cleaning can be more complicated with interior wall installations. Plan for access panels at the start, not after everything is sealed up.
Here's where I draw a firm line for DIYers: homeowners can often handle planning, drywall cutting, installing backing on the wall, and patch and paint. But pulling vacuum on the line set, opening refrigerant valves and most permanent electrical connections should be left to a licensed HVAC and electrical pro. Refrigerant work is regulated, improper procedures can damage a new compressor, and local code (plus your insurance) may require permits and licensed installers for new circuits or penetrating fire-rated assemblies.
Special Considerations in Hot, Dusty Climates
Keeping the line set away from direct sunlight and out of an attic "blast furnace" improves long term performance. Where line sets must run through an attic, bury them under attic insulation or route through conditioned chases to reduce thermal gain on the refrigerant lines.
When outdoor temps are above 95 degrees F (like much of a Mesa summer), fans alone won't keep you safe. The 2026 Maricopa County Heat Relief Network runs from May 1 through September 30 with more than 200 cooling sites listed on hrn.azmag.gov. A mini split that is properly placed and sized, on an interior wall or not, becomes a critical cooling tool. Skimping on install quality is a bad trade when your house hits 115 degrees outside.
What to Ask Your Installer About an Interior-Wall Mini Split
Ask them to:
-
Trace the full route of the line set, wiring and condensate drainage on-site: where it leaves the indoor unit, which walls and ceilings it travels through, and where it leaves the house to reach the outdoor unit
-
Show you what will be visible when finished: surface line covers inside, soffits, exterior line hide on the siding, or exposed sections in a garage or basement
-
Confirm the proposed layout stays within manufacturer limits for line length and elevation, and whether a condensate pump is needed or if a smarter route can maintain gravity drainage
-
Explain how much clearance the install provides and whether service access is planned for hidden unions, the condensate pump and line set runs in the attic or basement
FAQ
Can I run the mini split line set through an attic or basement?
Running the line set through attics, basements or crawlspaces is common for interior wall installations. Lines must be insulated (suction line at R-4 minimum per code), supported, and protected from damage. In attics, heat gain on refrigerant lines hurts efficiency. Bury insulated lines under attic insulation where possible. Stay within the manufacturer's length and height limits for your specific model.
Do you always need a condensate pump?
Not always. A pump is only needed when you can't maintain a continuous downward slope for the drain line to an approved discharge point. Many interior wall installs still manage gravity drainage by running the drain line through a basement or along a sloped attic run. A pro has to confirm this on-site because even a short section of level or uphill drain line will cause water to pool and eventually leak.
Is Interior Wall Mini Split a Realistic DIY Project?
Homeowners with solid carpentry skills can handle wall prep, blocking, drywall cuts and some of the line routing. But refrigerant handling, pressure testing, evacuation and electrical connections to the outdoor unit should be left to licensed pros. DIY refrigerant work voids most manufacturer warranties, and in certain areas, code requires a licensed installer for both refrigerant and new electrical circuits. Plan the route yourself, then hire a pro to finish the job right.