Nothing ruins your morning like finding water dripping down the wall under your mini split. I've dealt with this more times than I can count-in my own house, in my shop, and helping neighbors here in Mesa figure out what went wrong. The good news is that most mini split leaking water problems have simple causes and straightforward fixes. Let me walk you through all of them.
Key Takeaways
-
The most common cause of a mini split leaking water inside your home is a clogged condensate drain line. About 80–90% of leaks trace back to a drain line that is blocked or that doesn't have enough slope.
-
Power should be off before opening the indoor unit. Call a licensed HVAC technician if there's ice on the evaporator coils, a failed condensate pump or persistent leaks after you've cleaned the filter and cleared the drain.
How a Mini Split Drains Water
A mini-split air conditioner is removing humidity from the air as it cools. The evaporator coil is circulating cold refrigerant inside the indoor head. That is the wall-mounted unit. Whenever the surface of that coil drops below the room's dew point, moisture in the air is forming on it. That is the same idea as water forming on a cold glass.
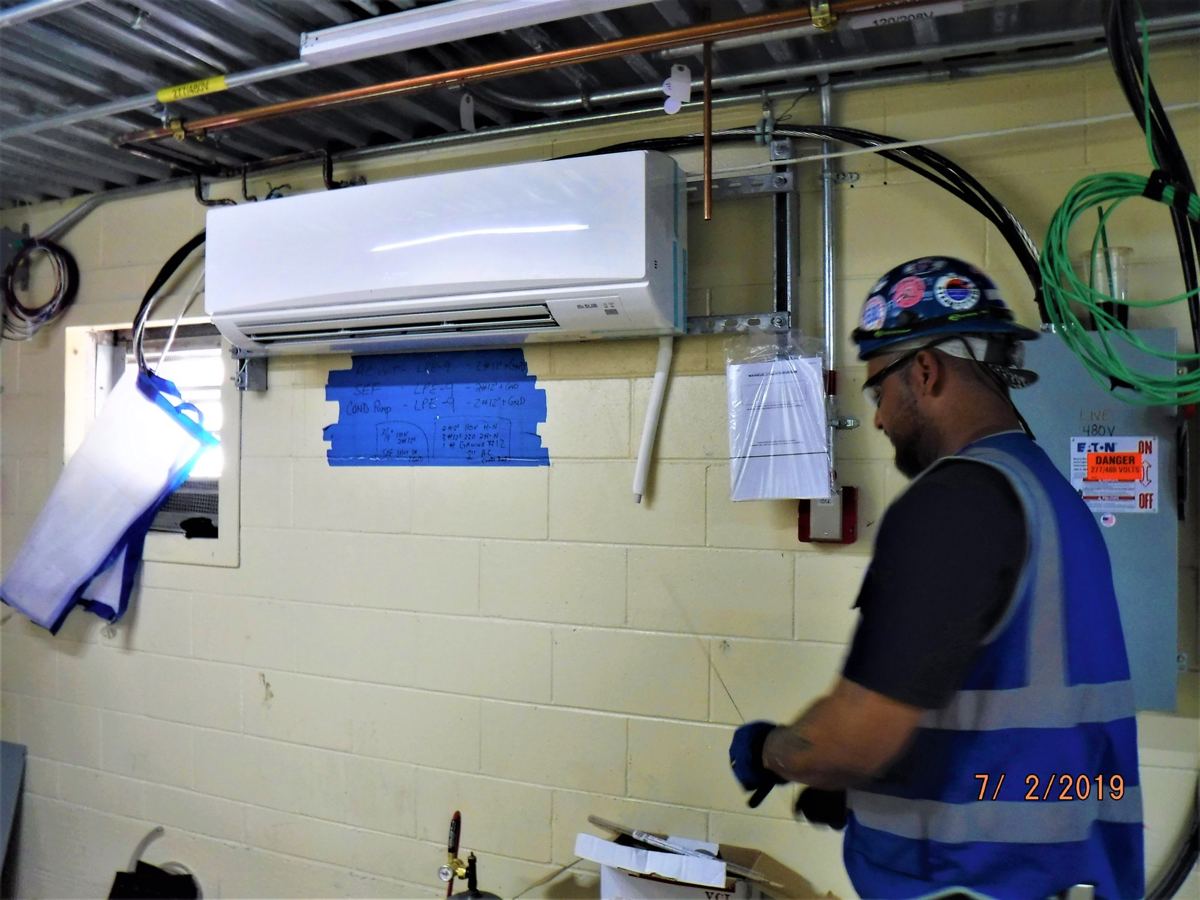
That condensate drips into a small plastic drain pan. That pan is sitting under the evaporator coil. From there, it is flowing into a condensate drain line. That line is usually about 5/8-inch internal diameter. It is running through the wall and going out to daylight outside. Most ductless systems use a gravity-fed drain line, though ceiling cassettes and basement installs sometimes need a condensate pump to push water uphill.
ENERGY STAR notes that a plugged condensate drain can cause water damage and change indoor humidity, and that dirty coils make the system run longer. That's exactly what you see when you say "my mini split is leaking water."
What Happens When Your Mini Split Starts Leaking
Before you grab tools, you can figure out when and how the leak shows up.
Your mini split is leaking water during cooling mode:
-
Drain line that is clogged or drain pipe that has no slope
-
Dirty air filter or dirty evaporator coil
-
Drain line outlet that is buried or blocked outside
Mini split leaking in heat mode:
- Sweating refrigerant lines inside the wall sleeve from missing or damaged insulation. That is not a full drain pan.
The leak only shows up on humid days:
- Higher dew point means more moisture. If your mini split drain line has a small clog or is almost flat, it can get overwhelmed and water will leak inside. If your system never leaked until monsoon hit, suspect drainage problems first.
The indoor unit is leaking and not cooling, or the fan stops and lights flash:
- Stop DIY. This points to issues with refrigerant levels, control board or electrical components. Call a technician.
Common Causes of a Mini Split Leaking Water Inside
-
Clogged condensate drain line or a drain line run with dips, traps or no slope so water sits and grows algae
-
Dirty filter and dirty evaporator coils reducing airflow so water doesn't track into the drain pan correctly
-
Frozen evaporator coils from restricted airflow or low refrigerant-when ice melts, it overflows the pan
-
Damaged drain pan. Cracked or bent plastic from age, UV, harsh cleaners or rough coil cleaning
-
Improper installation. Indoor unit not level, drain line pitched uphill or long horizontal runs with no continuous fall
-
Failed or small condensate pump on ceiling cassettes or where the drain must route uphill
Clogged or Poorly-Sloped Condensate Drain Line
Symptoms:
-
Water is dripping from the front panel of the indoor unit
-
Staining on the wall below
-
Musty smell near the unit
-
Little or no clean water is coming out of the outside drain line on hot, sticky days
The indoor unit and drain hose must have a continuous downward slope for proper drainage. Manufacturer specs call for at least 1/8-inch to 1/4-inch of fall per foot from the drain pan to the outlet. Sags or back-pitches trap standing water and gunk.
Quick inspection for you: Find the outdoor drain outlet. Make sure it isn't buried, pinched or plugged with mud or bugs. If water isn't coming out there when the unit runs, you've found your problem. Check the condensate drain line monthly for clogs. It takes 30 seconds.
If the line goes into finished walls and you see water in the indoor unit, you can usually clear it from the outside end with a wet/dry vacuum.
Dirty Filter, Evaporator Coil and Blower Wheel
A dirty filter or evaporator coil is the second most common cause of a mini split leaking, especially in dusty garages and Arizona shops. A heavily clogged filter can reduce airflow by 30–50%. That causes two problems:
-
Condensate drips off the front of the evaporator coil instead of running straight down into the drain pan
-
Evaporator coils get cold enough to freeze, then dump water from melted ice after the unit cycles off
Dirty air filters can freeze evaporator coils, and that causes leaks. Looking like a gray felt blanket over the mesh, a dirty filter is easy to spot. Air filters should be cleaned or replaced every two to four weeks during heavy use, and more often in dusty rooms or pet areas. Cleaning the air filter every 2–4 weeks prevents leaks and keeps proper airflow across the coil.
To inspect, open the indoor unit's front cover, slide out the filters and look at the evaporator coil fins behind them. If you see lint mats or gunk on the coil, the unit is needing a deeper cleaning. Evaporator coils and blower wheels that are very dirty usually need a proper coil cleaner and a drain pan bag or service cover, so be realistic about your comfort level here. Clean filters are the single easiest thing you can do to prevent water damage.
Frozen Evaporator Coils and Water Leaks
What causes coil ice:
-
Dirty filter or dirty evaporator coil (restricted airflow)
-
Weak indoor fan or failing blower motor
-
Low refrigerant levels from a refrigerant leak
Symptoms: The mini split runs but airflow feels weak or like it's "whistling," supply air gets warmer instead of colder, and ice is visible on the evaporator coil if you lift the front cover.
What to do: Turn off the AC immediately to prevent water damage. Shut the system off at the breaker and let frozen coils thaw completely. Put towels or a pan underneath to catch water from the melted ice. Frozen coils can leak water when they thaw for hours.
Cleaning a dirty filter is DIY. But if the ice returns within a day, that's tech-only area. Refrigerant work is needing EPA Section 608 certification.
Drain Pan, Pump or Installation Problems
Cracked or damaged drain pan: Cracked or damaged drain pans can lead to water leakage directly down the wall. Plastic pans under the evaporator coils can split from age, heat or aggressive cleaning. Inspect the drain pan for cracks or corrosion regularly. This is showing up as leaks even with a clear drain line.
Condensate pump issues: Condensate pumps, if equipped, must function properly to prevent water backup. A stuck float switch, burned-out motor or kinked discharge tube causes the pan to fill until it overflows. If the pump hums but water isn't moving, it's failed.
Leveling and mounting: Improper installation can cause water leaks from mini splits. If the indoor unit is tilting toward the room instead of toward the drain, condensate is spilling out the front of the cabinet. Ensure the indoor unit is level for proper drainage.
These problems are often needing partially removing the indoor unit from its wall bracket. Because of attached refrigerant lines and control cable, that is risky. I recommend calling a pro for damaged components like these.
How I Clear a Mini Split Condensate Drain Line as a DIY Homeowner
Here's my actual process. You can use a wet/dry vacuum to clear the drain line. It takes about 20 minutes.
-
Turn off power at the disconnect or breaker. Even 120V controls are dangerous when things are wet and you are near electrical components.
-
Place a towel or small pan under the indoor unit. You'll likely spill some water when you open the front cover or move the drain pan.
-
Go outside. Find the condensate drain line outlet. Usually a short PVC stub or vinyl hose near the outdoor unit, that is what you're looking for. Clear soil, debris and check that it isn't glued into a trap full of standing water.
-
Attach your wet/dry vacuum to the outdoor end of the drain line. Make as tight a seal as you can with your hand or a rubber fitting. Run it for 60–90 seconds. You may see algae, black gunk or little bits of scale come out.
-
Back inside, open the indoor unit and remove the dirty filter. Slowly pour a small amount of warm water into the drain pan area while a helper looks outside to confirm steady flow out of the drain line.
-
Vinegar rinse. Pour about 1/4 cup of white vinegar into the pan to slow buildup of organic film. Avoid bleach. It creates fumes and damages metals and plastics. Flush the condensate drain line once or twice a year this way.
-
Reassemble. Replace the clean filter, close everything up, restore power and run the mini split in cooling mode for 20–30 minutes. Check for new drips around the indoor unit and for steady dripping at the outdoor drain outlet.
How to Prevent Your Mini Split From Leaking Water Again
Regular maintenance can help prevent common issues with mini-split systems. Here's my schedule for Mesa:
-
Clean mini split air filters every 2–4 weeks during heavy use. Do this more often for shops, pet rooms or dusty home offices.
-
Check the outdoor condensate drain line outlet at the start of each cooling season and again mid-summer. Make sure it isn't blocked, buried or home to insects. Inspecting the drainage slope should be part of regular maintenance checks.
-
Light vinegar flush into the drain pan once in spring and once in fall to slow algae without harsh chemicals.
-
Keep indoor humidity in the 30–50% range. This reduces how much moisture the system handles, especially on humid days during monsoon. Less condensate means less chance the drain system gets overwhelmed.
-
Schedule an annual professional inspection for deeper evaporator coil cleaning, blower wheel cleaning and a full drain system check before Arizona's long cooling season. A yearly service call finds minor issues before they become expensive leaks.
When to Call an HVAC Technician
Red signs that mean call a pro:
-
Ice on the evaporator coils that comes back after filter and drain cleaning
-
Repeated leaks in the same spot (persistent leaks after clearing the clogged drain)
-
Any water near the indoor control board or wiring harness. Water leaking inside near electronics is a short-circuit risk.
-
Leaks in heat mode or damp spots in the wall away from the indoor unit (sweating refrigerant lines or hidden drain issues)
-
Refrigerant leaks, opening the sealed system or moving the indoor unit are licensed jobs
FAQs About Mini Split Leaking Water
Is it safe to keep running my mini split while it's leaking water?
No. Shut the system off if you see water leaking inside from the indoor unit. The water itself is just condensate-not refrigerant-but it can cause electrical shorts and mold growth if it soaks into the unit or wall for more than 24–48 hours. Water entering from outside can sometimes be mistaken for an AC leak, so verify the source before assuming the worst. Turn off the breaker before inspecting further, then either clear the drain or call a technician to prevent water damage.
Do You Need a Permit for a Shed Mini Split?
In Mesa, a detached shed or shop under about 200 square feet usually does not need a building permit by itself. But adding a mini split starts a construction permit. That counts as mechanical equipment. With a permitted, correctly installed system, the condensate drain line is more likely to be sloped and supported properly so it doesn't leak water later. Check local codes before you mount the indoor unit and run the drain line through the wall.